Whether you’re looking to repurpose an old item of clothing or have picked up a garment on sale that features some unsightly embroidery, there are a number of reasons why you might want to get rid of some embroidery.
You may also need to remove embroidery from a piece of fabric in order to create a neat seam line on a sewing project.
Luckily, embroidery is far from permanent. Below are two easy and effective ways to remove embroidery without damaging the garment.
Method 1: Seam ripper
The first way you can remove embroidery from a garment is by using a seam ripper. A seam ripper is a handy little item that is designed to unpick or rip through stitches, as the name suggests.
A seam ripper usually has a plastic handle with a forked metal head, with one prong longer than the other to easily slide it under the stitches.
This is a useful sewing accessory for any sewist, not only for unpicking stitches but also for many aspects of sewing.
This method involves cutting the threads of the embroidery with a seam ripper and then pulling them out with tweezers. These are tools you may already have at hand, but if not are easy and cheap to buy.
What you’ll need:
To remove embroidery using a seam ripper, you’ll need:
- Seam ripper
- Tweezers
- Lint roller
- Magnifying glass
How to remove embroidery using a seam ripper
Removing embroidery using a seam ripper is not difficult, but it does require some patience. Follow the steps detailed below, making sure that you work slowly and carefully to avoid damaging the garment.
Step 1: Turn the garment inside out
The first thing you’ll need to do before removing embroidery is turn your garment inside out so that you are viewing the underside of the embroidered design. Make sure that the back of the embroidery is exposed so you can remove all of the threads.
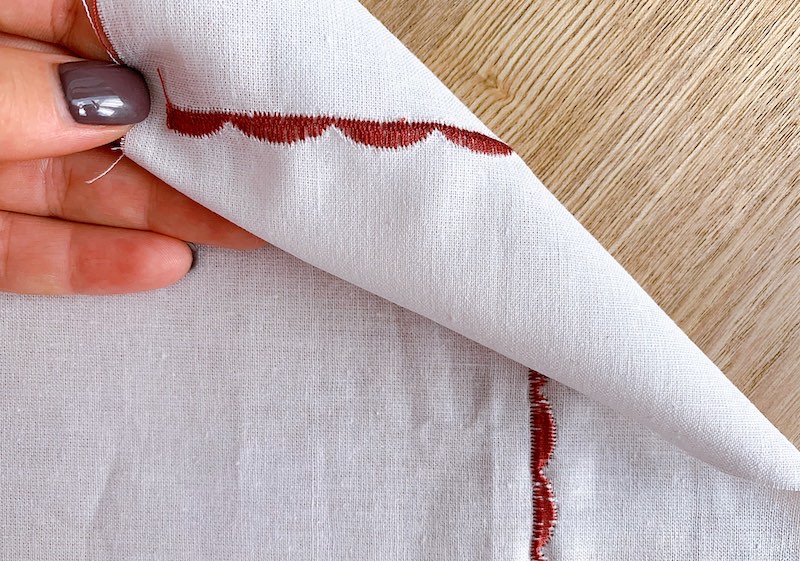
This may involve pulling or pinning back other sections of fabric so that the back of the design is completely exposed.
Step 2: Hold the embroidered section securely in your palm
Hold the right side of the embroidery in the palm of your hand, with the back side facing upwards. If you’re working on a garment like a shirt, slide your hand inside it, so that the front of the embroidery is directly on your palm.
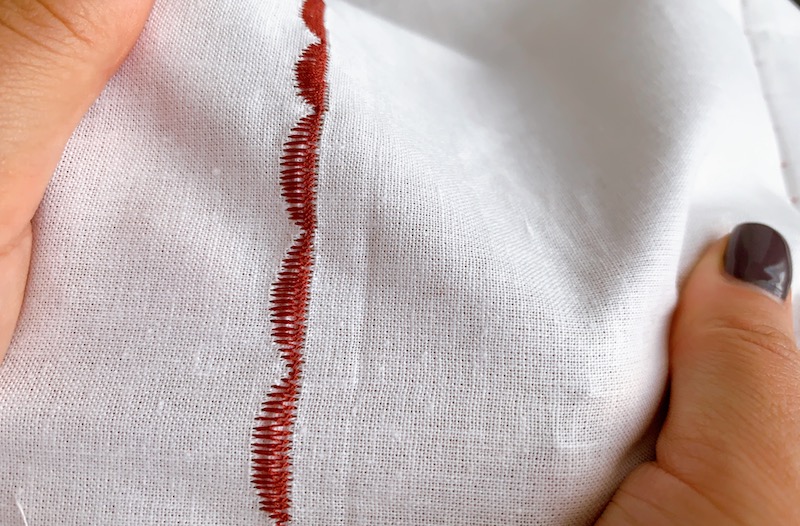
This is important to keep the garment stable as you remove the embroidery, as well as an easy way to hold the design close to you so you can see what you’re doing. This is reasonably fiddly work, so being able to see clearly is vital, and holding your project this way means you can bring it closer when you need to see better.
For the same reason, make sure you are working in a well-lit area before using your seam ripper.
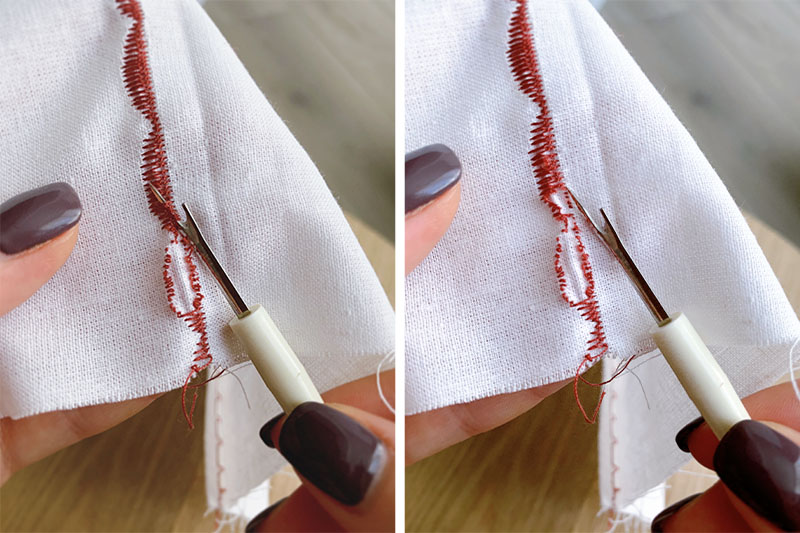
Step 3: Start ripping the stitches
Take your seam ripper and slide the long prong of the forked end of the tool under a small section of the design.
Slide the point under about five or six stitches until the first stitch reaches the neck of the fork. This part of the seam ripper is sharp and designed to cut through the threads.
As you get to this point, push the seam ripper firmly forward, cutting through the embroidery stitches. You want to be firm enough to cleanly cut through the stitches, but still gentle so that you don’t damage the garment or any other threads that you want to stay in place!
The exact process will depend on the design you are working with. For hand-stitched embroidery, you will only be able to slide your seam ripper under a handful of stitches and cut through these.
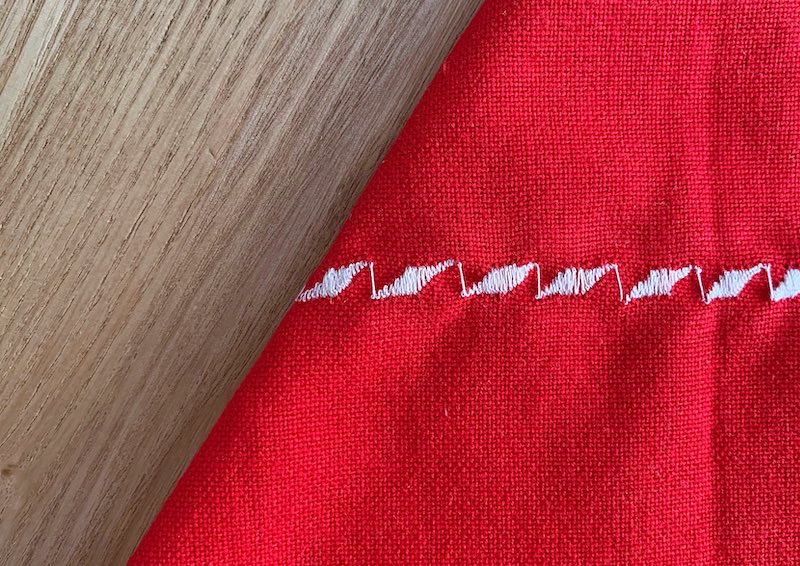
However, for most machine embroidery designs, you will be able to continue to slide your seam under the lines of stitches, cutting them as you go. Test this by pushing the seam ripper forward gently, cutting 30 to 40 stitches at a time.
Repeat this process until you have cut through all the stitches on one section of the embroidery.
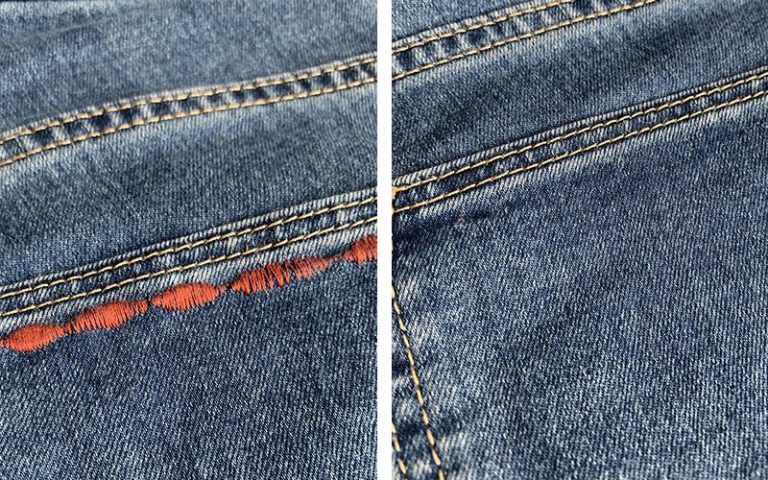
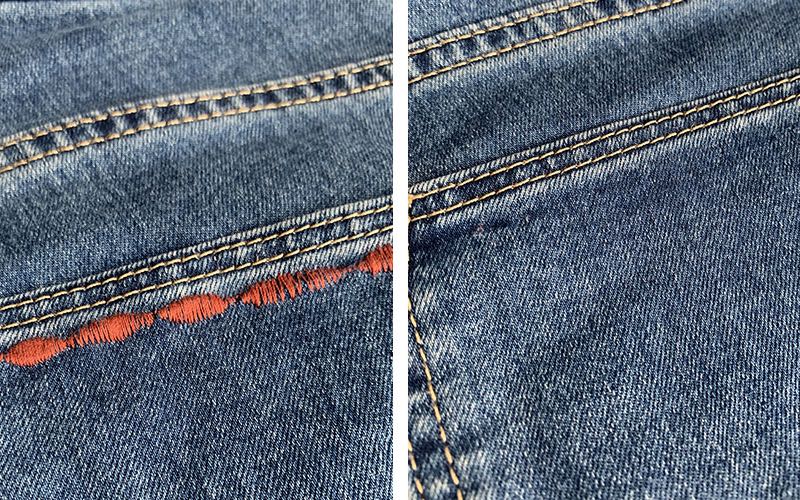
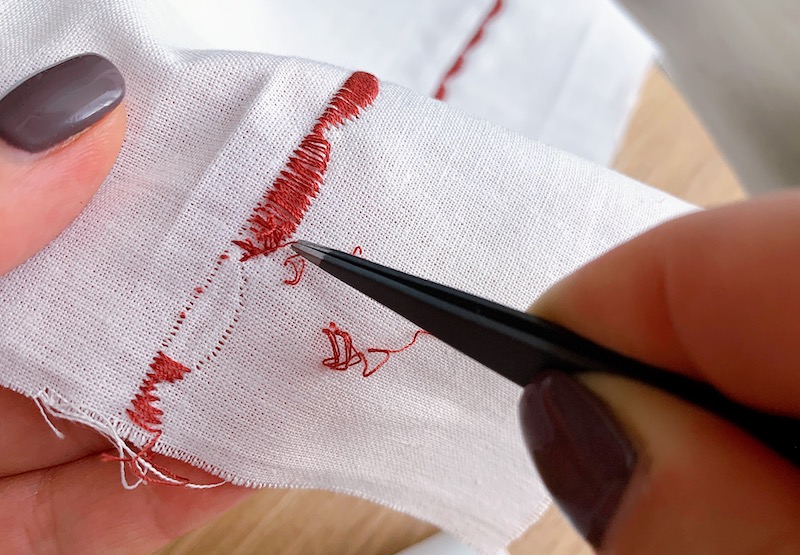
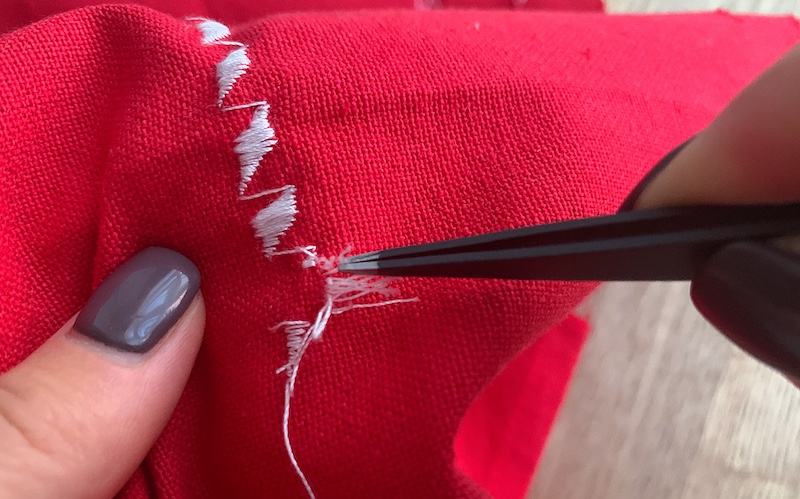
Step 4: Pull out the threads at the front
Turn your garment the right side out so that you can see the right side of the embroidery. Take your tweezers and gently pull at the stitches that have been torn, removing the threads.
This will remove the embroidery as well as the torn threads. If you’re struggling to see which stitches have been torn, use the magnifying glass to spot the broken threads and pull these out.
Your magnifying glass will be particularly helpful for very detailed sections, or sections that are next to other stitching in the garment.
This will help you avoid pulling on threads that haven’t been cut yet, other stitching that you don’t want to remove, or the weave of the fabric. You want to be careful not to pull too hard on any of these as this could damage the garment.
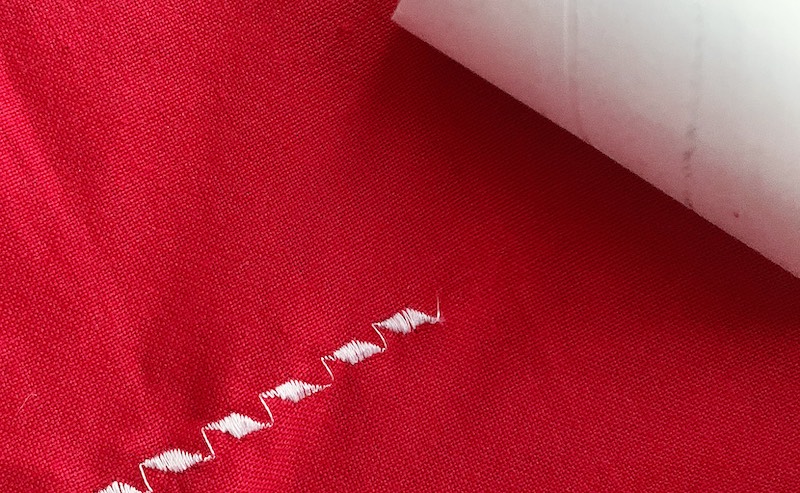
Repeat the process for the other sections of the embroidery – cutting the threads on the back side of the embroidery then turning the garment over to pull out the threads with tweezers – working slowly and carefully.
Step 5: Go over with a lint roller
Even if you have carefully pulled out each thread with tweezers, there will likely be some stray threads and debris lying around when you’ve finished. Pick these up by running over the garment on both sides with a lint roller.
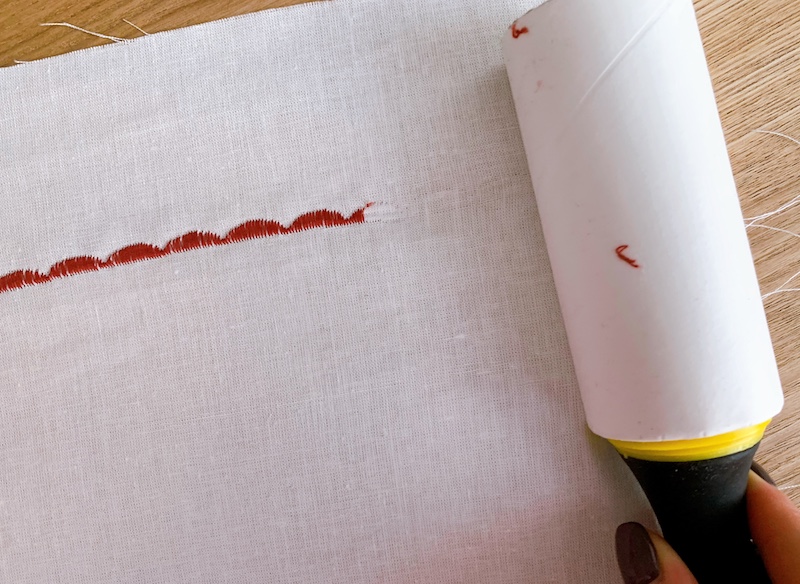
If you don’t have a lint roller you can achieve the same result by wrapping some duct tape or scotch tape around your hand with the sticky side facing out. Then dab the fabric with your hand to pull up the stray threads and debris.
After this, if there are still any stray threads it’s time to get out your magnifying glass and tweezers again to finish the job. You’ll then have a nice, clean garment and it’ll be as if the embroidery was never there!
Method 2: Embroidery eraser
Another effective way to remove embroidery is by using an embroidery eraser, sometimes also known as a stitch eraser. This is a special tool that looks a bit like a beard trimmer and is perfect for removing professional-level embroidery, such as logos.
An embroidery eraser works by reaching under the stitches and cutting them, cleanly removing the embroidery without damaging the fabric. This is a worthwhile investment if you regularly need to remove embroidered designs or if you run a business that deals with embroidery.
What you’ll need:
To remove embroidery using an embroidery eraser, you’ll need:
- Embroidery eraser
- Tweezers
- Lint roller
How to remove embroidery using an embroidery eraser
Follow the steps below to remove machine-stitched embroidery using an embroidery eraser.
You could also use a beard trimmer as a replacement for an embroidery eraser, as long as your trimmer is sharp enough. If using a beard trimmer rather than a specialised embroidery eraser you will need to hold the trimmer perpendicular to the stitches, but can otherwise follow the steps described below.
Be very careful not to cut any threads that you want to stay, or rub against the fabric with the cutting mechanism, as this could damage your garment. This is why an embroidery eraser like Peggy’s Stitch Eraser is better, as it is designed to do the job.

Step 1: Turn the garment inside out
As with the first method for removing embroidery, when using an embroidery eraser, you’ll need to start by turning your garment out so that you are viewing the underside of the embroidered design.
Lay the garment flat on a hard surface or hold the embroidery section in the palm of your hand, as described in method #1 above.
It is important to only use the embroidery eraser on the back of the garment, as the tool may make the fabric pilled or fuzzy. Additionally, machine-stitched embroidery is usually thinner at the back of the fabric so it is easier to cut through.
Make sure that you are working with machine-stitched embroidery, as this method is not suitable for hand-stitched designs. If your embroidery was made by hand, use the first method we describe above.
Machine-stitched embroidery is often made with stabilizing material to avoid the material bunching or becoming distorted during the embroidery process. If there is any stabilizer showing around the outside of your embroidery on the back, you should pull this away before starting to work.
Step 2: Cut the embroidery threads
Take the embroidery eraser and run it across the embroidered section of the garment slowly, pushing just an inch at a time. As you work, make sure the blades are digging into and ‘cutting’ the threads.
Once you have finished the first inch of the embroidery, lift the embroidery eraser up and start again, pushing through the next inch of stitches. Work your way across the back of the embroidery, each one-inch row at a time.
For most embroidery designs it makes sense to remove one row at a time. However, if you’re removing a lettered logo, it is usually easier to work across the width of each letter.
Step 3: Turn the garment the right way out remove the stitches
Turn the garment the right way out once again so that you can see the front of the embroidery. Similar to the method described above, take your tweezers and remove the torn stitches.
Again, you may need to use a magnifying glass to see what you’re doing and grab the correct stitches.
With professional-level embroidery, sometimes the stitches are so fine and tight that you may not be able to see which threads have been loosened. In this case, aim for the section that you shaved on the other side, and gently pull on the threads.
If the thread does not move easily and you encounter any resistance, stop pulling and try another thread. Don’t pull too hard on any unloosened threads and risk damaging the fabric of your garment.
Step 4: Go over the back with the embroidery eraser again
In most cases, not all of the threads will be cut on the first pass with the embroidery eraser, so you will need to go over the same section again.
As before, turn the garment inside out and run the embroidery eraser over the remaining threads, one inch at a time. Then turn the garment the right way out and remove the threads with tweezers.
Once you have finished the first section, repeat the process for the next section, and then the next, until you have removed all of the embroidery.
Step 5: Run over the garment with a lint roller
Finally, go over both sides of the fabric with a lint roller to remove any thread remnants or debris. As mentioned above, duct tape or scotch tape wrapped around your hand makes a decent substitute.
If you have any stubborn stitches left, you can quickly remove them using a seam ripper and tweezers. This is an easier and more accurate way of removing single stitches than the embroidery eraser.
Final thoughts
If you have an item with unwanted embroidery, this doesn’t necessarily mean it’s time to throw it away. You can remove embroidery from a garment or similar piece of fabric relatively quickly and easily.
Using an embroidery eraser is a great way to remove machine-stitched embroidery, and this is a good investment for those who need to do this often. However, if you don’t have an embroidery eraser handy, or need to remove hand-made embroidery, the seam ripper method is for you!
If you found this tutorial useful, please go ahead and share it with your network.