
You can sew a beautiful buttonhole either by hand or on a sewing machine, as long as you have the right machine accessories. Below you’ll find step-by-step instructions for each method.
Sewing a buttonhole: what you’ll need
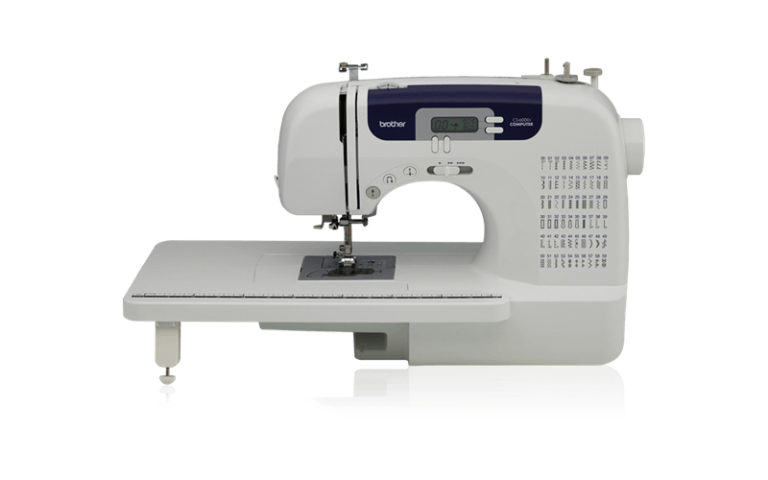
If sewing a buttonhole with a sewing machine, you’ll need:
- A sewing machine with a four-step buttonhole function
(eg. The Singer 4411 or Janome 2212) - Buttonhole foot
(if this did not come with your machine you can often buy it separately) - Sharp scissors
- Quick unpick
To hand sew a buttonhole you’ll need:
- Needle
(we recommend a number seven and number eleven hand sewing needle) - Fabric pen or tailors chalk
- Spacing tool or a ruler
- Twill tape
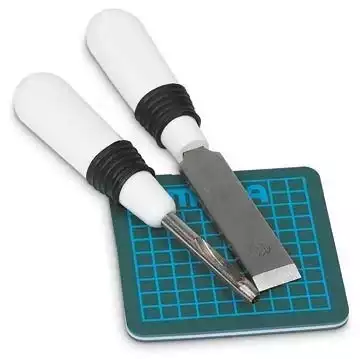
- A buttonhole cutting tool
- Button/s
- Thread
(we recommend 100% Egyptian cotton thread, ultra-fine polyester thread, and extra-strong polyester thread)
How to sew a buttonhole using a sewing machine: step by step guide
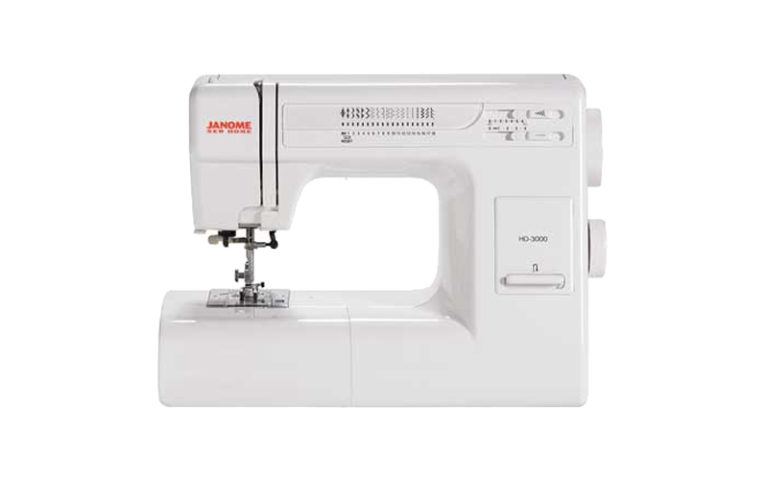
This method will only work if you have a sewing machine that can sew a four-step buttonhole.
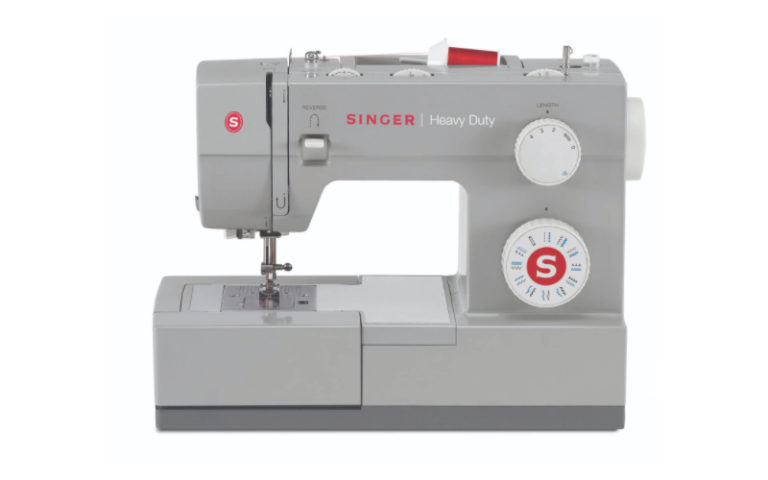
We recommend the Singer 4411 or Janome 2212, both excellent machines that have a four-step buttonhole function as well as many other great features.
Step 1. Put on the correct presser foot
Before you can start sewing a buttonhole on your sewing machine, you need to make sure you’re using the right presser foot.
Start by removing the standard sewing presser foot (or whatever presser foot you were using) and placing the four-step buttonhole foot. This is usually an elongated, plastic foot with a rectangular hole in the center.
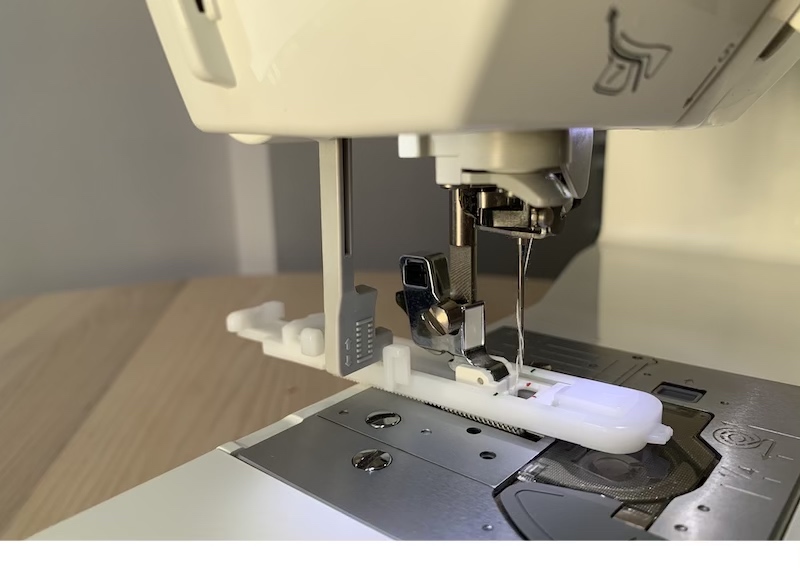
On most modern machines, you simply need to position the buttonhole foot below your needle, lower the presser foot column, and it will click into place. On some older models, you may need to unscrew the presser foot and then screw on the new one.
Be sure to check your machine’s instruction manual for guidance on how to change the presser foot on your machine. Once attached, raise the presser foot again so that you’re ready to start sewing.
You may also want to prepare your fabric with interfacing. Many types of fabrics will benefit from being reinforced in this way. Press a light or medium-weight interfacing onto the wrong side of the fabric.
Step 2. Select your stitch
You then need to select the correct stitch to start your four-step buttonhole. This will depend on your machine: on most, you’ll use the stitch selector dial to choose your stitch. On some computerized sewing machines, you choose your stitch using the LCD touch screen.
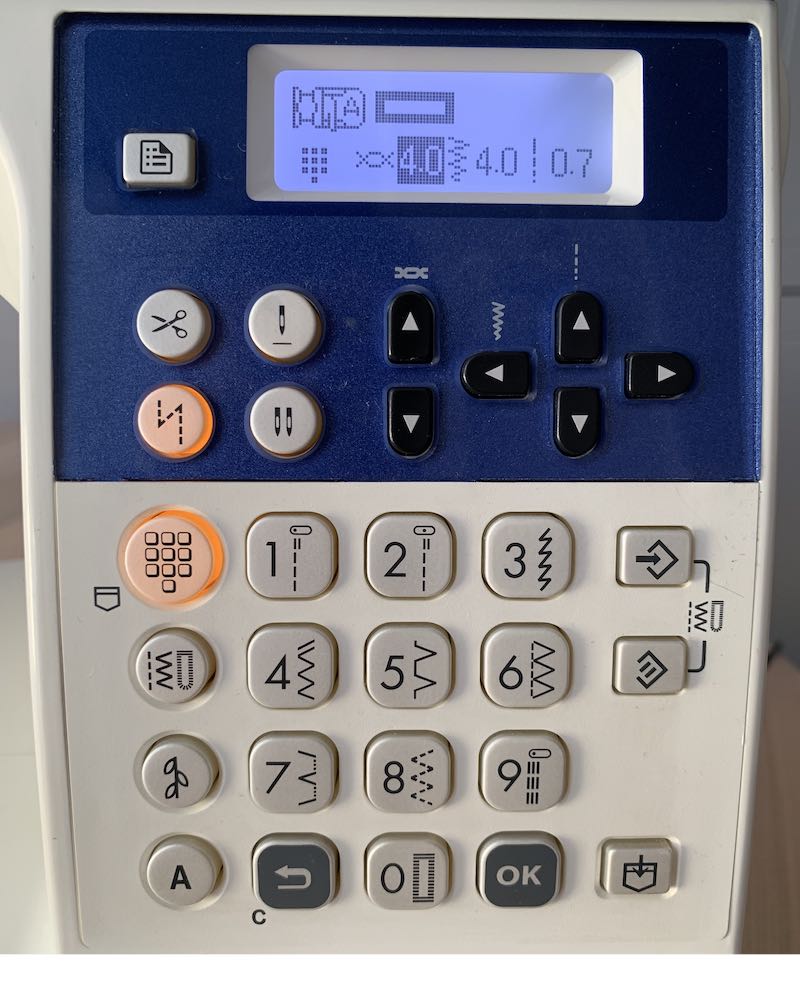
On many machines, this is the “A” position on the stitch selector dial, however, once again be sure to check your machine’s instruction manual to see how it works on that model.
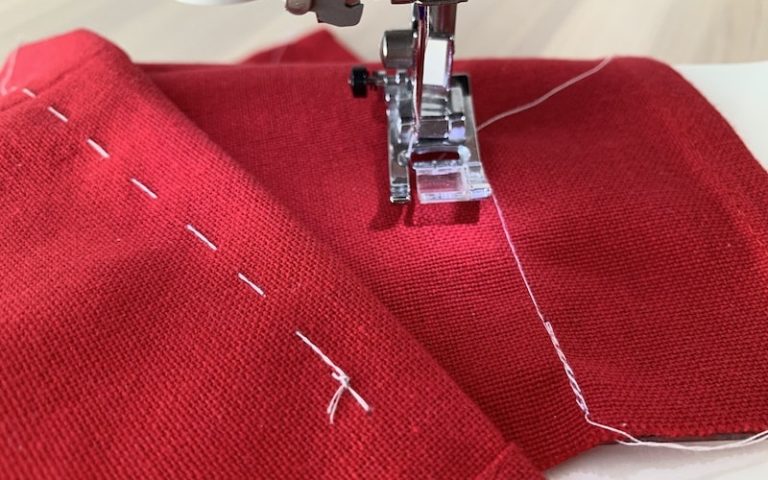
Step 3. Sew the bar tack
Using the foot pedal, stitch the bar tack of your buttonhole. This is the base, or bottom edge of the whole.
Be sure to cut any threads that may be hanging off.
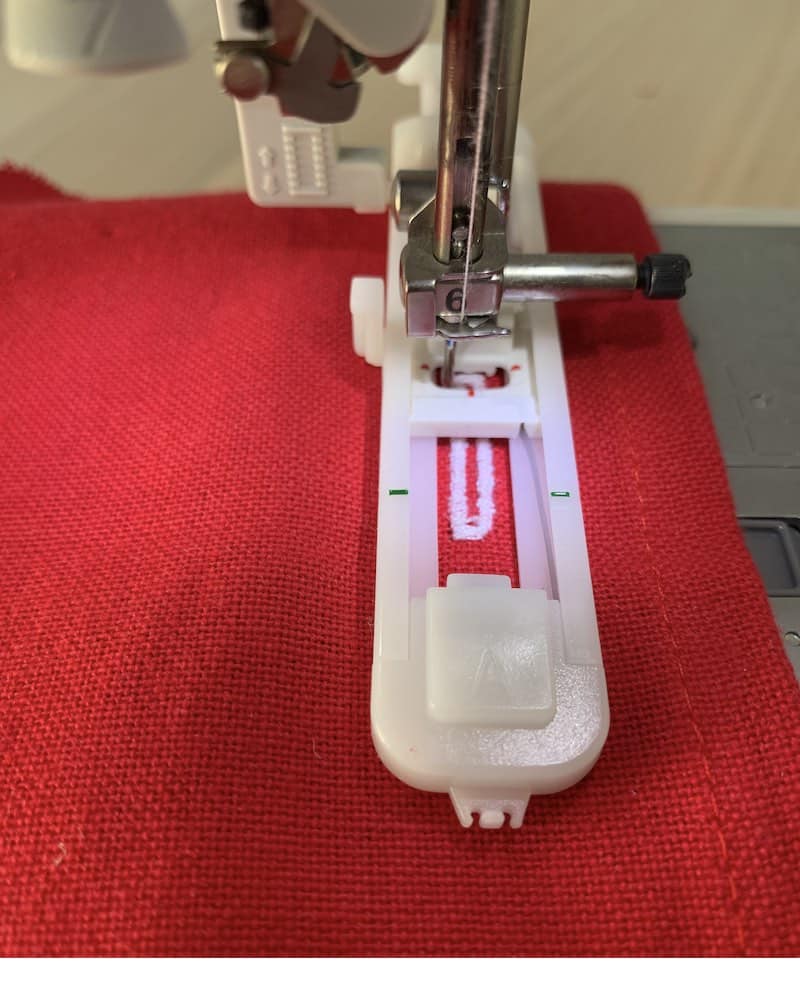
Step 4: Sew the side of the buttonhole
Next, select the second step of the buttonhole as detailed in your manual. This will likely be the “B” position on your stitch selector dial. Make sure that your needle is in the up position before changing the stitch type.
Again, use the foot pedal to sew the next side of the buttonhole. This will now sew one of the long sides of the hole.
You can use the marks on the buttonhole presser foot to show the length of the hole. If you prefer, you can also mark up the fabric to the desired length with marking chalk.
Stop sewing once your buttonhole is long enough.
Step 5. Sew the top of your buttonhole
Making sure that your needle is in the up position, select the stitch for the top of the buttonhole, usually the “C” position. This may be the same spot as “A” of the bottom of the buttonhole, marked as “AC”.
Sew along the top of your buttonhole.
Step 6. Finish the buttonhole
Finally, select the final side of your buttonhole on the stitch selector, usually “D” and sew down the side to complete your buttonhole.
Your stitching should now meet up with the start of your buttonhole.
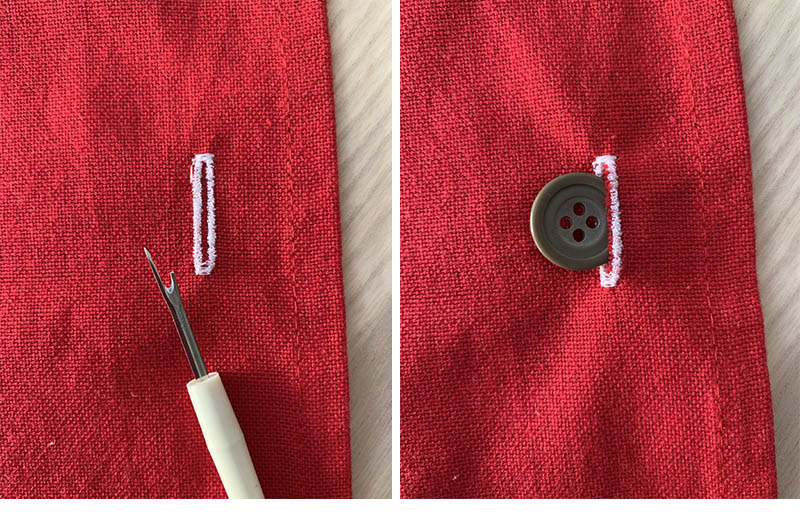
Step 7. Cut the center of the buttonhole
Remove the fabric from the sewing machine and cut off the thread tails.
Use your quick unpick to carefully cut through the center of the buttonhole. Use it for the first half or first two thirds of the buttonhole, and then finish cutting the buttonhole with scissors.
This will make sure you don’t cut through the top of the buttonhole. Small embroidery scissors are best for this; just make sure they are sharp!
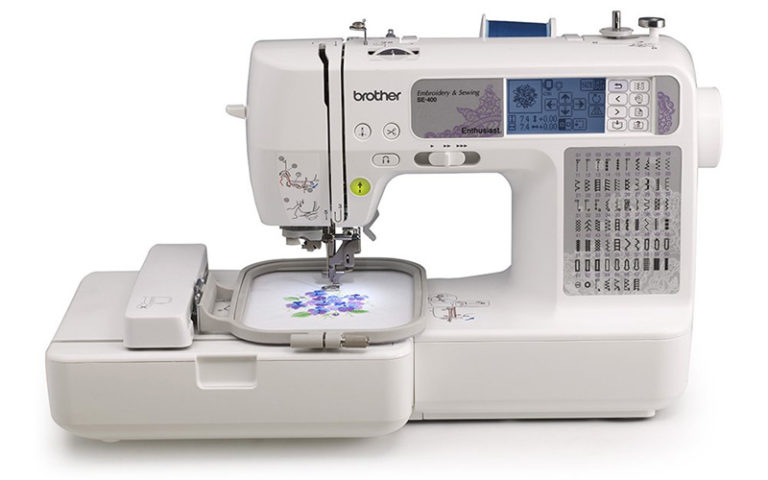
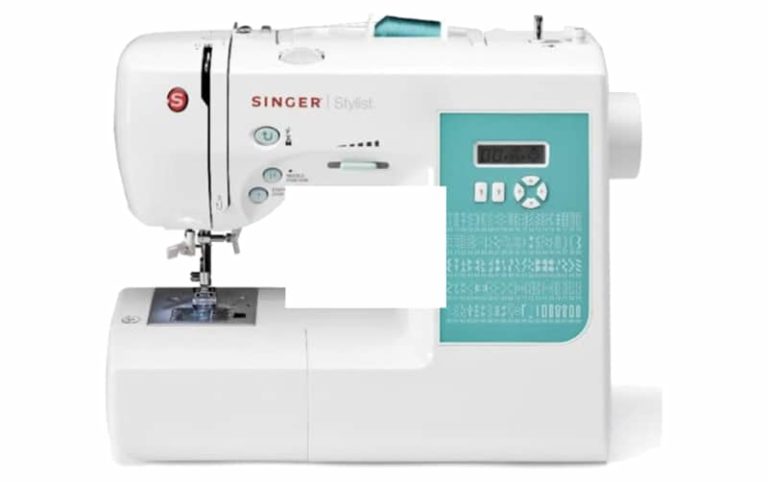
Some machines, such as the Singer Quantum Stylist 9960, allow you to make a one-step automatic buttonhole. This is an even simpler process and is usually as easy as attaching the buttonhole foot, selecting the automatic buttonhole and starting to sew.
If your machine has this feature, check the instruction manual for how to make an automatic buttonhole on that particular model.
How to sew a buttonhole by hand: step by step guide
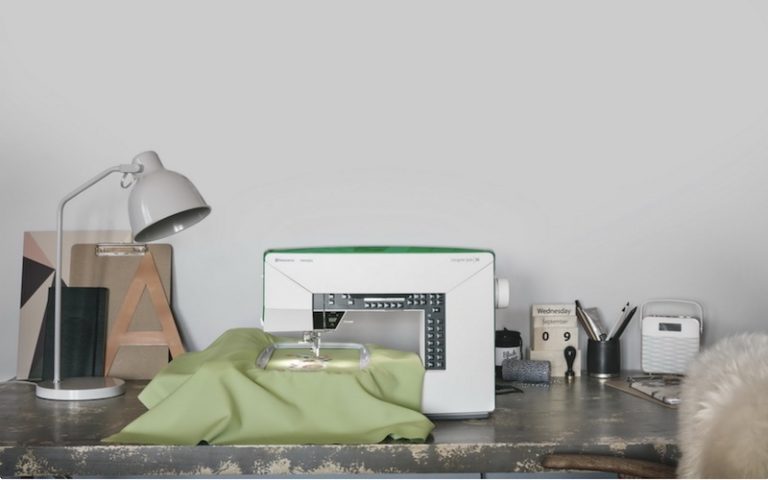
Sewing a buttonhole with a sewing machine is quick and easy, but there are a few reasons why you may choose to sew it by hand instead.
Not everyone has a sewing machine, despite the availability of affordable sewing machines these days. So you may have no other option than to sew the buttonhole by hand.
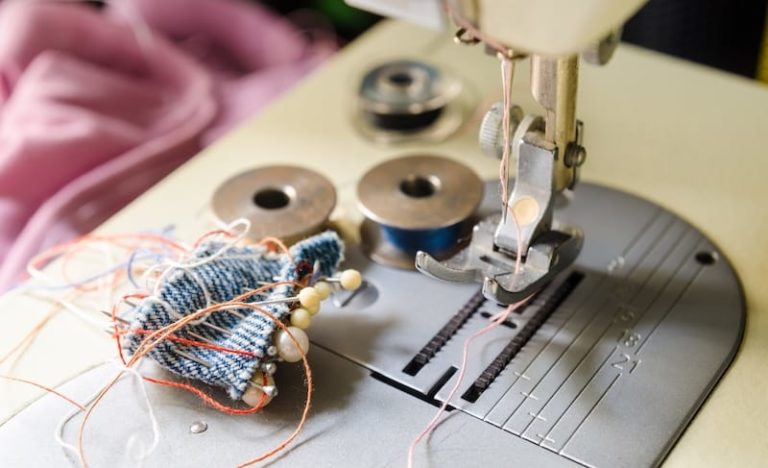
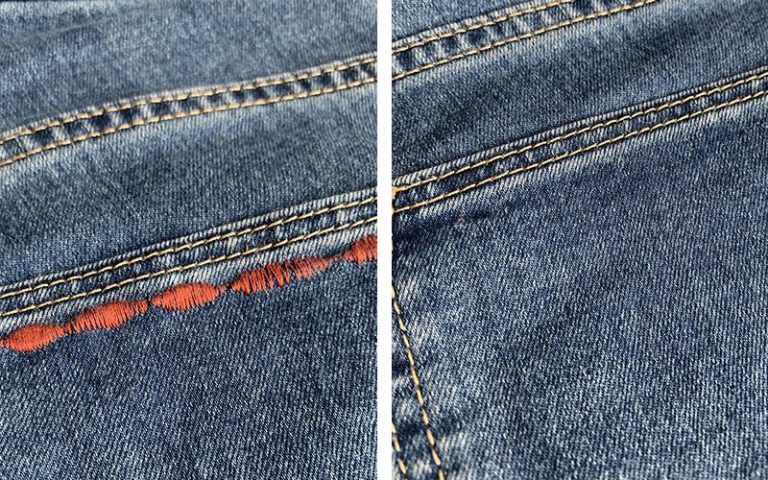
If you are working with a robust fabric such as leather or denim and don’t have a heavy-duty sewing machine, you may find that the buttonhole doesn’t come out need (or at all) on your machine.
Finally, you might just want to achieve that special, vintage look that you get by sewing your buttonholes by hand. Whatever the reason, read on for our step-by-step instructions to sew a buttonhole by hand.
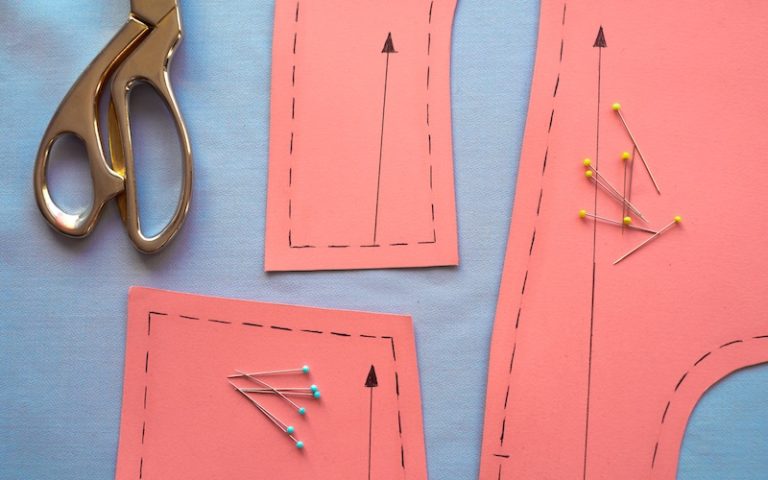
Step 1. Mark up your fabric
The first step in sewing a buttonhole is to decide where you are going to place your buttons. You will want your buttons to be evenly spaced along the front of your garment, or whatever you are sewing.
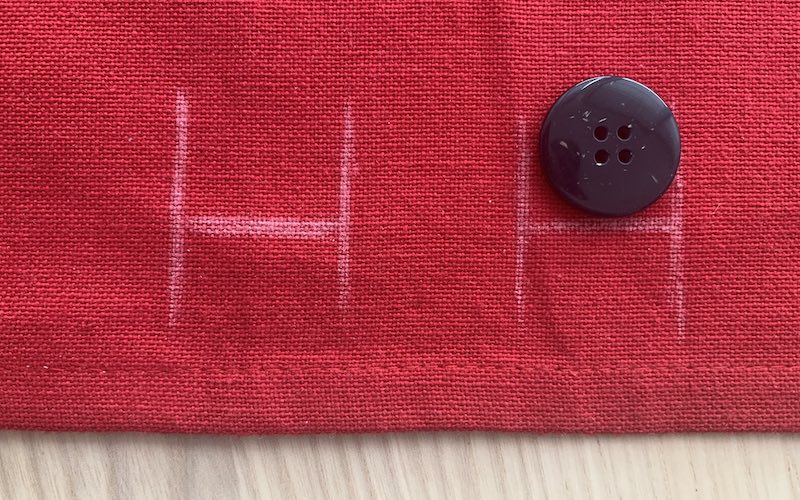
Use a spacing tool and tailors chalk or a fabric pen to mark where you want the buttonholes on your fabric.
To work out the length of your buttonhole follow these steps:
- Wrap twill tape (or a ribbon) around the button you are going to use.
- Pin the twill tape together using a sewing pin.
- Pull the button out and lay the tape flat on a table or hard surface.
- Measure the distance from the pin to the folded edge: this will be the length of your buttonhole.
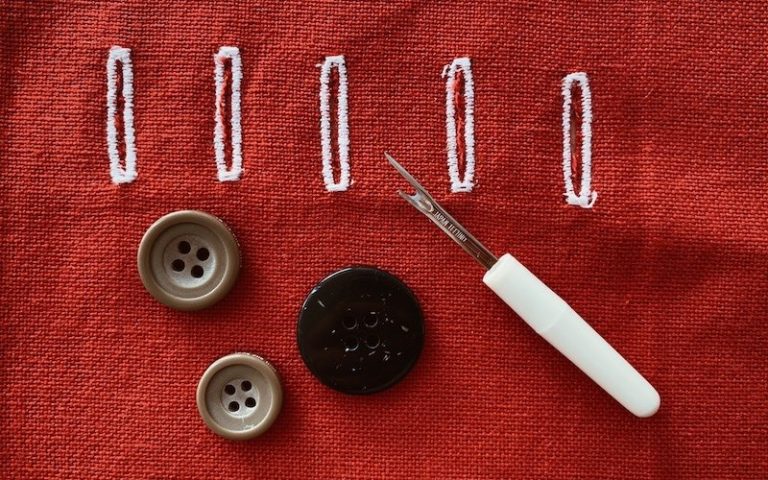
Set this length in your spacing tool and draw a line where the buttonhole will be and include markings at the top and bottom to show the start and end of the buttonhole. This basically looks like a capital letter “I”.
If you don’t have a spacing tool, you can use a ruler. You’ll just need to calculate the length of each buttonhole and the space between them. You can then mark up the fabric with tailors chalk in the same way.
Step 2. Cut your buttonhole
Cut along the line you have marked on your fabric using a buttonhole cutting tool. Cut one buttonhole at a time and finish this before cutting and finishing the next one.
This will avoid the fabric edges fraying before you have a chance to finish all the buttonholes.
Step 3. Edge your buttonhole
Take a number 11 sharp hand-sewing needle and thread it with an extra-fine polyester thread like Invisafil.
This makes your stitches almost invisible: they will blend in with your fabric. You can then sew decorative stitches over the top, if you wish, and these will stand out.
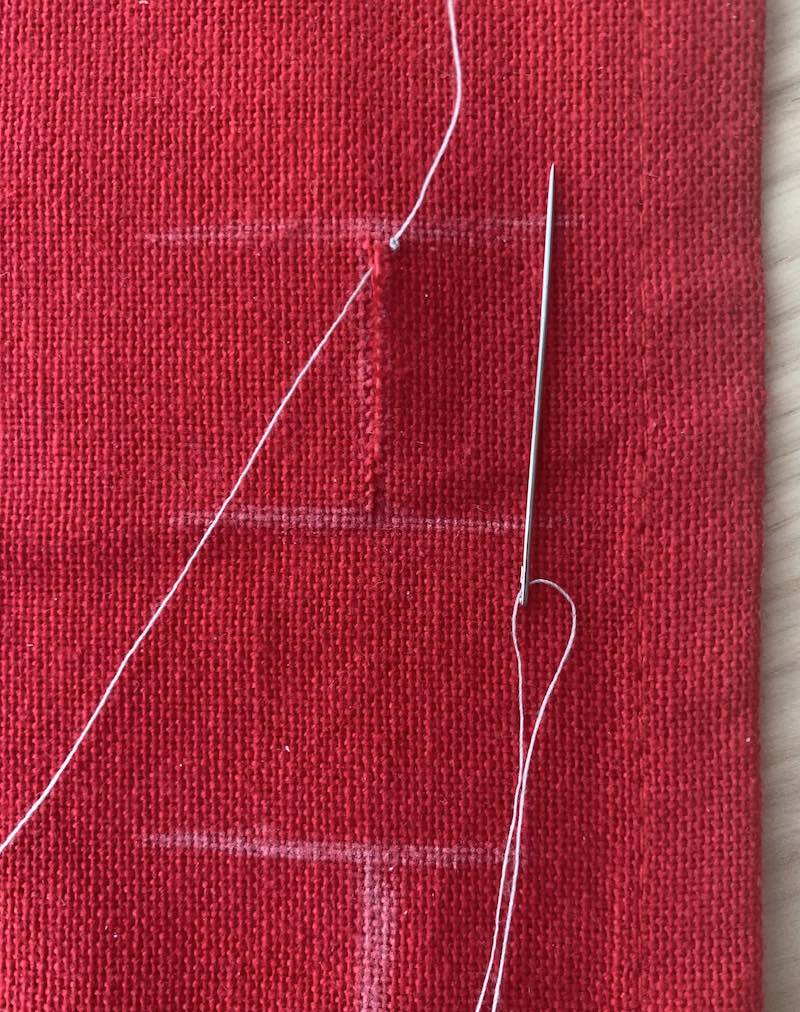
Tie an overhand knot just behind the eye of the needle. This will stop the needle from becoming unthreaded as you work.
Do a close whip stitch around the edge of the buttonhole.
A whip stitch is essentially a loop and can be performed with the following steps:
- Push the needle through from the top of the fabric to the bottom side.
- Circle the thread around and pierce the top of the fabric again, next to the previous stitch.
Make sure that the stitches are nice and close together so that they hold the layers of fabric together firmly .
Step 4. Sew the decorative stitch
For your decorative stitch, it is best to use a 100% Egyptian cotton thread. This is easy to sew and has a nice finish.
For this thread, switch to a number seven embroidery needle that is easier to thread thanks to its larger eye.
As you are sewing the decorative stitch you are also going to sew in a length of strong thread around the edge of the buttonhole. This is called the gimp thread.
We recommend using extra-strong polyester thread. This will add extra weight and some lift to the button hole.
Cut a piece of this strong thread that is twice the length of your buttonhole, plus at least an inch. For example, if your buttonhole is one inch long, cut a length of thread three inches long. Take the gimp thread and hold it around the outside of the buttonhole. If you find it difficult to hold the thread and sew at the same time, you can also tape it in place and remove the tape as you sew.
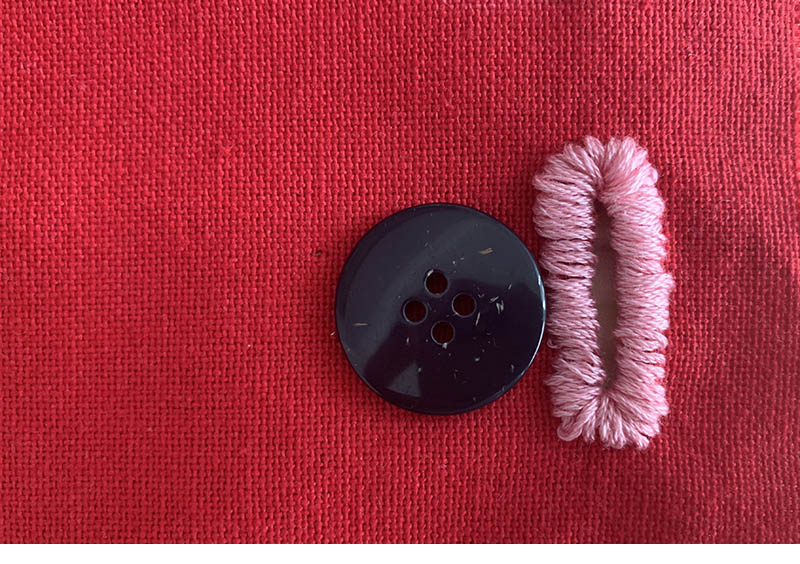
Next, take your cotton thread and use a buttonhole stitch to sew around the edge, starting at the back of the buttonhole. A buttonhole stitch is similar to a whip stitch, but with each stitch, pas the working thread behind the tip of the needle and then pull the needle through.
As you sew, catch the gimp thread in each stitch. Keep the stitches close together for a neat finish.
Step 5. Sew the second side of the buttonhole
Once you have sewed the first side and reached the front of your buttonhole, sew three or four stitches around the curve. Then start working down the other side of the buttonhole, again making sure to catch the gimp thread with each stitch.
Step 6. Finish your buttonhole
When you have sewn all the way to the back of your buttonhole again, sew several tack stitches at the base of the buttonhole.
Pull the thread to the underside of your fabric, finish your stitches and trim the thread.
Step 7. Tidy up the gimp thread
You will now have a neatly-sewn hole, but there will be two gimp thread tails still hanging from the back of your buttonhole. To tidy these up, take your number seven needle and put it into the fabric close to the first thread tail.
Thread the gimp thread through the needle and pull it through to the back of the fabric. Repeat this for the other thread tail.
Wrapping it up
Knowing how to sew a buttonhole is an essential skill for any sewist. Whether making a button-down shirt, fastening a pair of pants, or finishing an accessory, a button and its neat buttonhole can add the perfect finish to many projects.
If you have a sewing machine with a four-step buttonhole function, you can easily sew a buttonhole in minutes if you know how. On the other hand, a hand-sewn buttonhole can add a unique touch to vintage-style projects.
If you’ve found this tutorial helpful, please share it with your friends and fellow sewists!