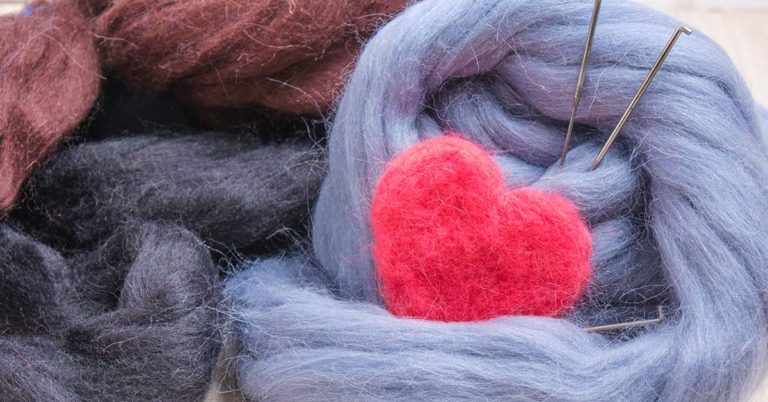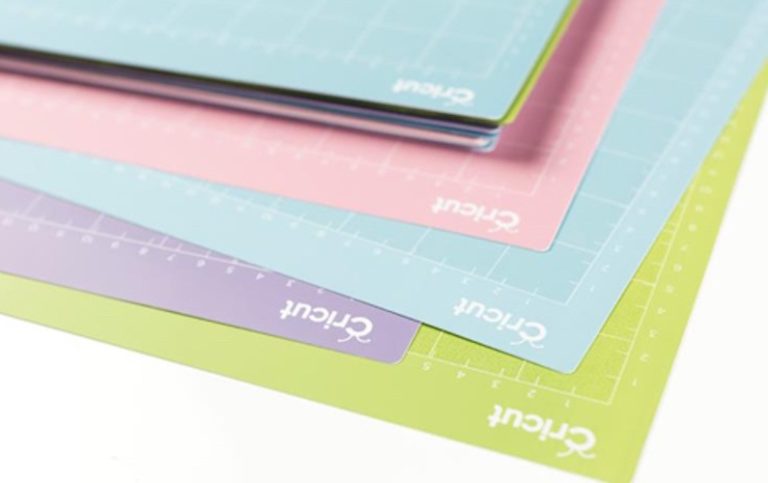

A Cricut Mat is an invaluable tool for any crafter. It is specially designed to let you cut out your projects easily and accurately, with various surface types available for different materials.
Using a Cricut mat makes your cutting more accurate as it prevents materials from shifting when cut. This can greatly improve the final result of your project. As such a vital accessory, it is important to keep it clean.
What you will need to clean your Cricut mat
Cleaning your Cricut mat doesn’t need any specialist equipment. In fact, you’ll probably have most of these items at home already, and the rest you can easily buy at your local store.
Here are all the supplies you’ll need:
- Plastic scraper (either the one that came with your Cricut machine or any similar hard, plastic scraper)
- Lint roller (or masking tape)
- Baby wipes
- Soft brush, soft sponge or magic eraser
- Dishwashing liquid
- Adhesive spray (optional)
How to clean your Cricut mat
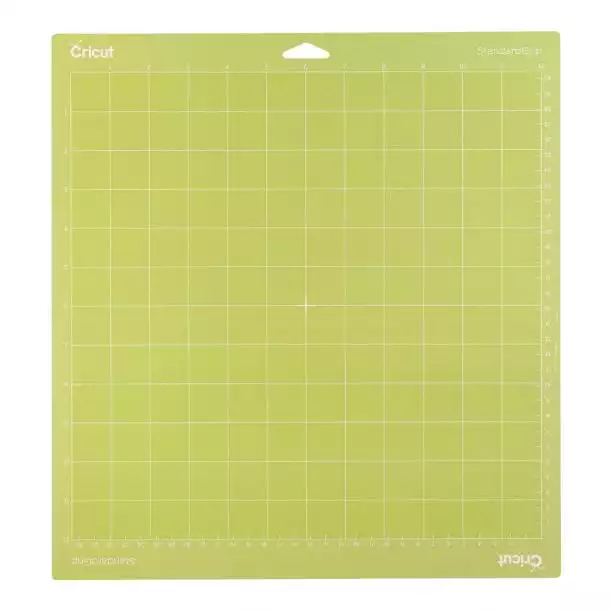
A Cricut mat is extremely versatile: you can use it to lay out and cut a large range of materials for all kinds of projects. Because you use it so often, it is vital that you keep your mat clean, otherwise it may lose its grip and not work so well.
Cricut mats rely on their sticky surface to grip the material. If not cleaned regularly, they can become dull and dirty, and therefore not grip well enough to let you cut to the high degree of accuracy that you need.
Here is a step-by-step guide to cleaning your Cricut mat to keep it in optimal condition.
1. Prep your mat
Once your Cricut mat stops gripping as well as it used to, or if you notice dust or debris on the mat, it’s time to clean it.
The first thing you need to do is prep your mat by giving it a light cleaning. Start by running a plastic scraper over the entire mat, gently and methodically scraping the surface to remove small pieces of debris.
You may have a plastic scraper that came with your Cricut machine. If not, you can use any hard, plastic scraper.
In order to thoroughly prep your mat, you’ll want to go over the surface several times before moving on to step 2.
2. Roll with a lint roller
Scraping your mat with a plastic scraper will remove most of the debris from your latest craft project. However, there will likely still be some smaller pieces and fluff left on your Cricut mat, especially if you’ve been working with fabric.
To get rid of these small, stubborn particles you’ll need a lint roller. You can use any regular lint roller, available from supermarkets or department stores.
Roll the lint roller across the surface of your mat to pick up small pieces of debris, dust, fluff, threads, and hairs.
This works because the lint roller is even stickier than the surface of the Cricut mat. It is also much more effective than going over your mat with tweezers, not to mention less frustrating!
If you don’t have a lint roller, you can also use masking tape as a substitute. Simply take some masking tape – the wider the better – and wind it around three or four fingers with the sticky side out.
You’ve now essentially turned your hand into a lint roller that you can dab on and off your Cricut mat. Work your way across your mat methodically, replacing the masking tape when it gets dirty and dull.
If your Cricut mat is not overly dirty, these first two steps may suffice in order to clean it. In fact, it is good practice to scrape down your Cricut mat and then run over with a lint roller between each project, no matter whether your mat feels dull and dirty or not.
Always cover your Cricut mat between projects to avoid picking up dust and fibers when you’re not using it.
However, after a few times, a deeper cleaning will likely be required. In this case, you’ll need to move on to step 3.
3. Wipe with baby wipes
Next, wipe down your Cricut mat with baby wipes. Run over your mat with the wipes, working in straight lines to make sure you cover the entire surface.
Baby wipes are ideal for cleaning Cricut mats because they are soft and gentle, and therefore won’t scratch the adhesive surface or otherwise damage the mat.
However, you should only use baby wipes that are unscented, alcohol-free, corn starch-free, and bleach-free. Essentially, you’re looking for the plainest available wipes, otherwise these additives may adversely affect the adhesive on your Cricut mat.
You may think you can skip this step and go straight to washing your mat with soap and water. However, this is important because it will shift the more mild dust and grime and therefore minimize the amount of soap and water you need to use.
You may even find that after cleaning your mat with baby wipes, you don’t need to use soap and water at all. However, in many cases you’ll need to move on to step 4 to remove the most stubborn dirt.
4. Wash with soap and water
The baby wipes will remove a fair amount of the dirty and dust from your Cricut mat. You’ll often need to use soap and water to achieve a really deep clean.
The water should not be too warm. Hot water can warp Cricut mats, meaning they no longer fit into your machine. The water should be tepid or cold, rather than hot.
- Add some soap that is free of lotions or additives to the water. Dish soap is a good choice, as it does not contain any ingredients that may damage or clog the mat.
- Allow your mat to soak in the soapy water for around 5 to 10 minutes. You’ll find that most debris will then easily come off.
- For any dirt that still does not come off, gently scrub the surface of the mat with a soft brush. If you’d prefer to use a sponge, you can use a magic eraser or another soft sponge.
A magic eraser is a good choice as the sponge is soft and gentle enough not to damage the surface of your Cricut mat. Just be sure to follow the eraser’s instructions for proper use.
5. Allow to dry then ‘restick’ (optional)
Now you’ve almost finished cleaning your mat. You’ll need to dry it completely before you use it again.
You do not want to dry your Cricut mat with a towel, paper, or tissue as it will collect more fibers and debris from these items. Therefore, you need to air dry your mat.
You want to air dry your Cricut mat by placing it somewhere where both sides can dry completely. You can either hang it up or place it on a well-ventilated drying rack, like your dish rack.
Whatever you do, do not apply heat, such as a heater or hair-dryer, as this could warp or split the mat! If you really want to speed up the drying process, you could increase airflow around the mat by using a fan.
It is important that you completely dry your mat before using it in your machine once more, as any lingering moisture will affect the mat’s stickiness. A moist mat could also damage your machine.
Once dry, you may find that you also need to ‘restick’ your mat. Resticking your mat is optional and only needs to be done if you notice that it has lost its stickiness.
This will normally only happen when you have washed it with soapy water, and may not be necessary every time you wash in water.
If you feel it’s time to restick your mat, you’ll need some adhesive spray. Adhesive spray, also known as sticky spray or repositionable adhesive, can be bought from craft stores.
- Remove all remaining adhesive on your mat with rubbing alcohol and your plastic scraper. This will ensure the mat is evenly coated.
- Cover the edges of your mat using masking or painter’s tape to make sure they don’t become sticky, as this can damage your machine.
- Slowly spray the adhesive across the entire surface, ensuring you coat the mat evenly. Follow the adhesive spray’s instructions: some products require you to go over the surface multiple times, while others only need one coat.
- Leave the adhesive to set for 15 to 20 minutes, and you should have a nice, sticky mat again!
Wrapping it up
Keeping your Cricut mat in good condition is vital for it to work properly. If you do not clean your mat regularly, it will quickly become dull and dirty, and lose its adhesive quality.
Make sure to follow the first two steps of this guide between every project. The complete cleaning process, from steps one to five is essential as soon as your mat begins to feel dull.
This will help to keep your Cricut mat in premium condition and allow you to keep using it for many more projects.
Did you notice the difference after you’d cleaned your Cricut mat? We’d love to hear about your experiences in the comments below!