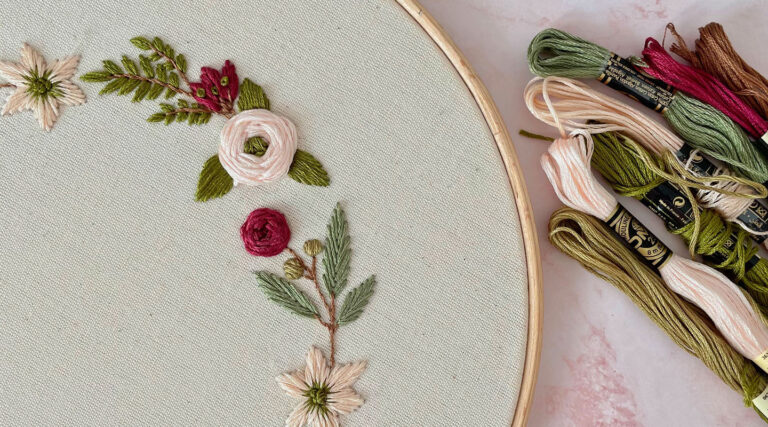
Embroidery is a fantastic art form that allows sewists to explore their creativity and create beautiful designs and pictures in thread. Embroidery may seem intimidating to complete beginners, but it can be easy if you just know where to start.
Tools for embroidery beginners
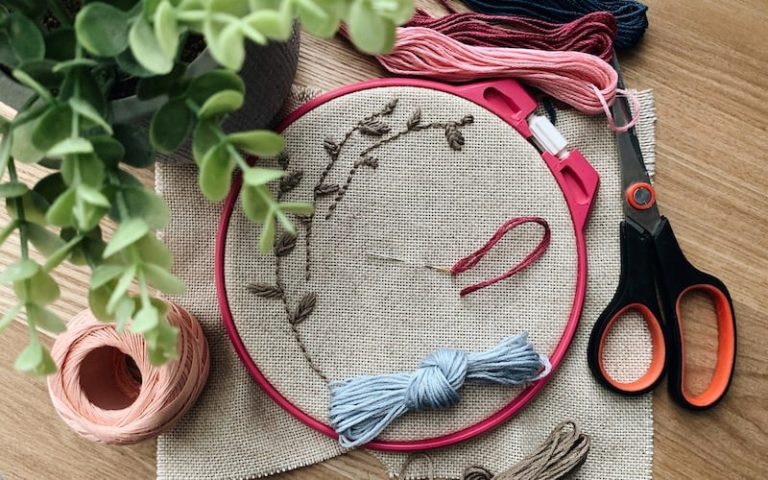
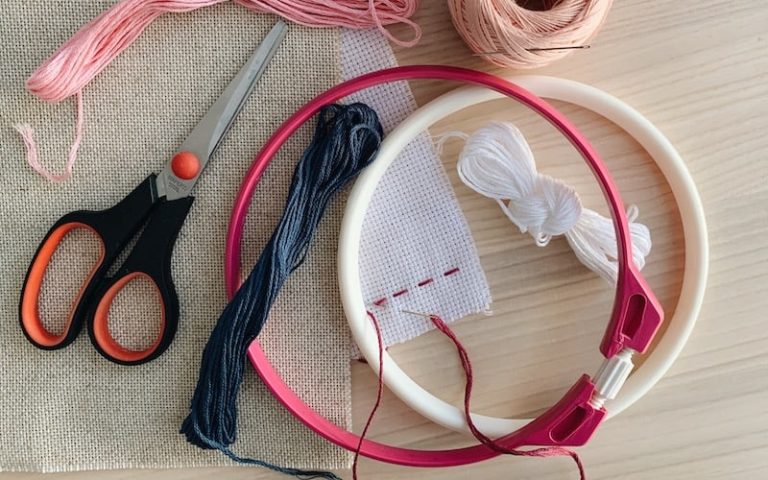
Do you want to dive into embroidery but not sure how to start? Here are the essential supplies you’ll need to get started with embroidery.
Needles
In general terms, any needle that a large eye is suitable for embroidery. You will need a larger eye than a normal hand sewing needle to thread the bulky embroidery floss easily.
However, there are some specific types of embroidery needles, to suit different forms of the art.
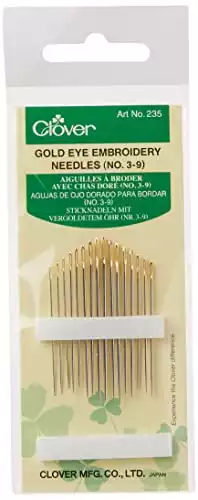
Embroidery or crewel needles
Embroidery needles, also known as crewel needles, have a long narrow eye and a very sharp point. The long eye makes for easy threading of multiple strands, and the sharp point allows you to flawlessly pierce any type of fabric.
Embroidery needles are generally medium length, though they come in a range of sizes. It’s a good idea to pick up a pack of embroidery needles in various sizes.
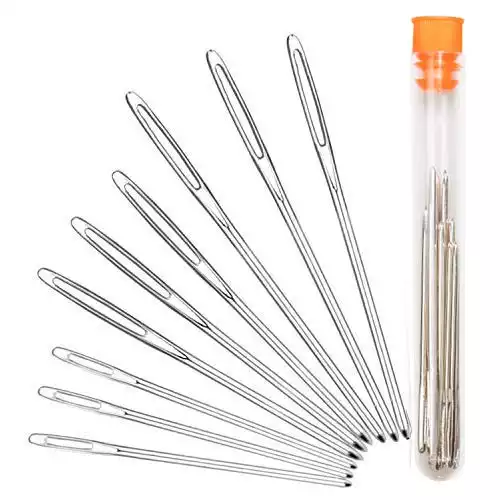
Tapestry needles
Tapestry needles have a large, elongated eye for threading multiple strands of heavy tapestry yarn. Unlike embroidery needles, they have a blunt point for fabrics with an open weave.
Although unsuitable for tightly woven fabrics, this is ideal for gliding smoothly through fabrics like mesh fabric without splitting the threads.
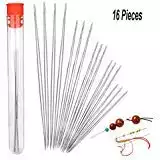
Beading needles
Designed for bead embroidery, beading needles are fine enough to pass through the narrow openings in seed beads. This necessitates a narrow eye for the needle, making it difficult, if not impossible, to use for other types of embroidery.
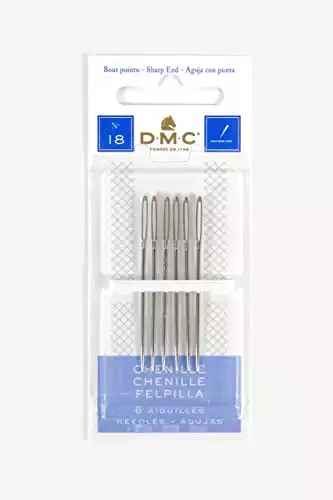
Chenille needles
Chenille needles have a very large eye which is big enough that you can even thread ribbon or thick yarn through it. They range from sizes 13 to 24, with the larger sizes being suitable to create silk ribbon embroidery.
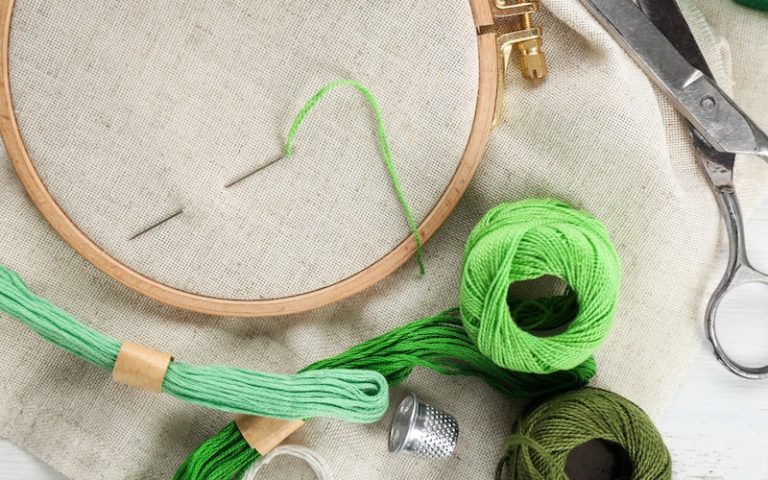
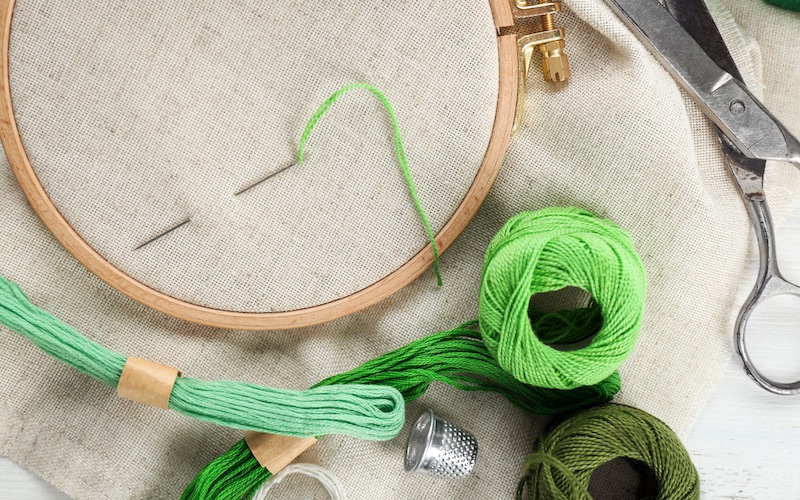
Hoops and frames
Hoops and frames are essential to embroidery. These hold your fabric in place, keeping it taut so that you can sew neat embroidery stitches without the project bunching or becoming distorted.
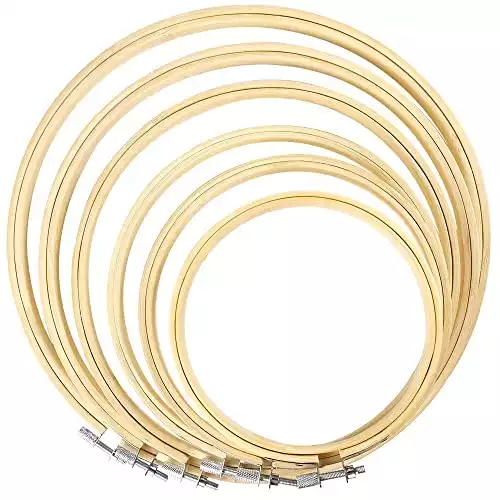
Embroidery Hoops
An embroidery hoop is actually two circular hoops that fit together. The fabric slides between the two rings and this keeps it taut.
Embroidery hoops come in a wide variety of sizes, but a six inch hoop will be suitable for most projects. On the other hand, if you are embroidering a very small, detailed piece of embroidery a smaller hoop is preferable, whereas larger hoops are better for very large projects.
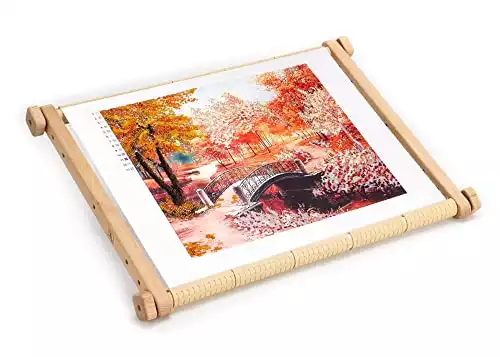
Embroidery Frames
Although circular hoops are the most common, embroidery frames also come in different shapes.
There are oval embroidery frames, which are perfect for sewing and displaying wider designs. Oval hoops are generally more difficult to find, and sizes are much more limited.
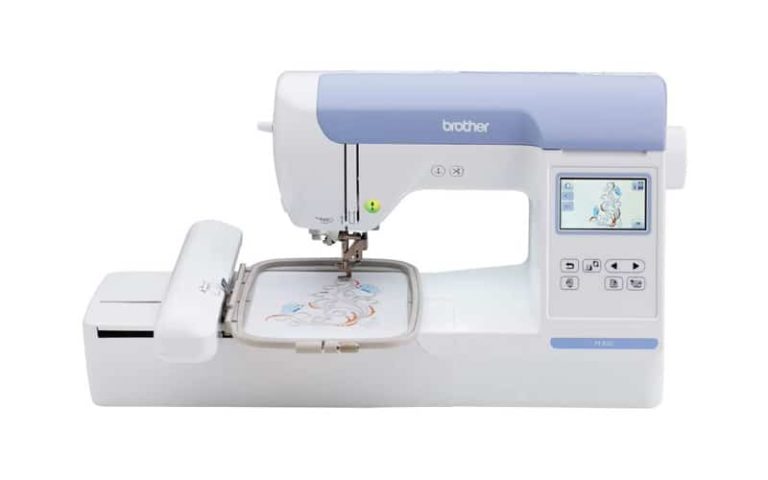
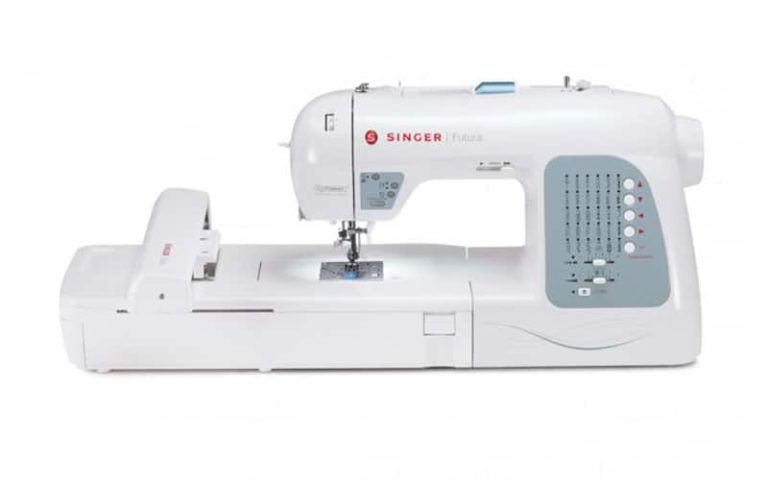
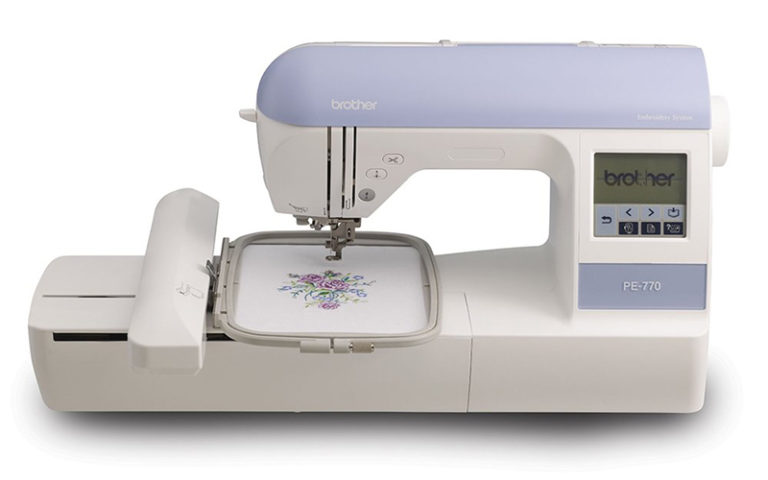
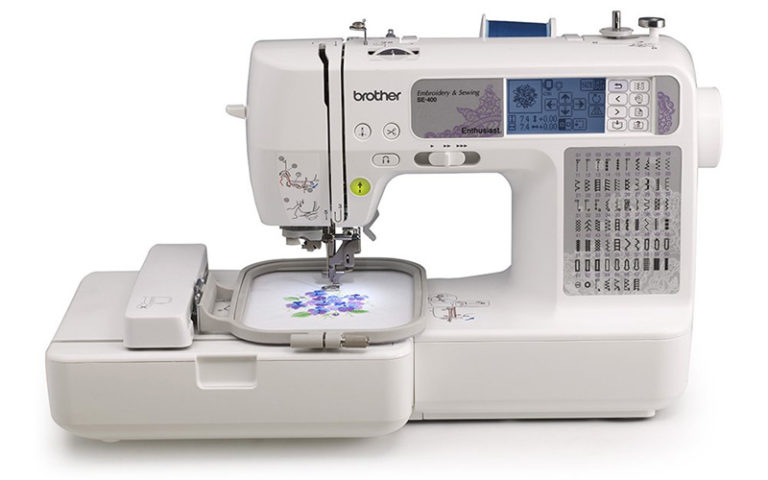
Square embroidery frames are also available, but these are designed for machine embroidery using your sewing machine. If you’re looking for a sewing machine for embroidery, we recommend the Singer Quantum Stylist 9980.
Materials
Embroidery hoops and frames are generally made from one of two materials:
- Plastic: Plastic frames are easy to work with, and use a tension screw on the top of the outer ring to keep the fabric taut.
- Wood: Wood frames fit together snugly to achieve the ideal tension. They are lightweight and portable, but some may leave marks on your fabric.
Scissors
You may think that scissors are just scissors. On the contrary, there are many different scissors and some are better suited to embroidery than others.
Embroidery scissors
Embroidery scissors are small, very sharp scissors that are ideal for cutting individual threads.
The shorter blade makes them perfect for cutting threads in tight spaces, as they are more delicate and can make small and precise cuts.
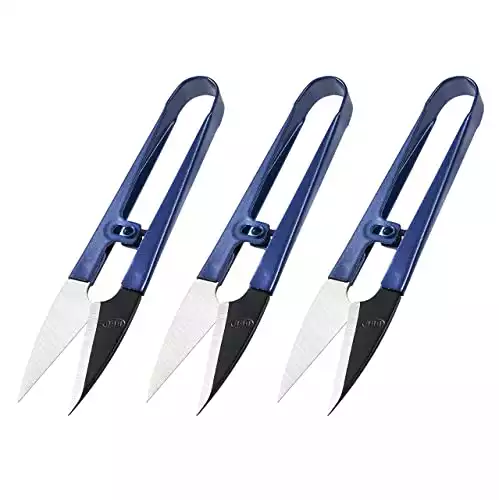
Thread snippers
Thread snippers, also known as thread snips are compact, light, and generally spring-loaded. As the name suggests, they are ideal for quickly snipping threads, trimming yarn ends or notching fabric.
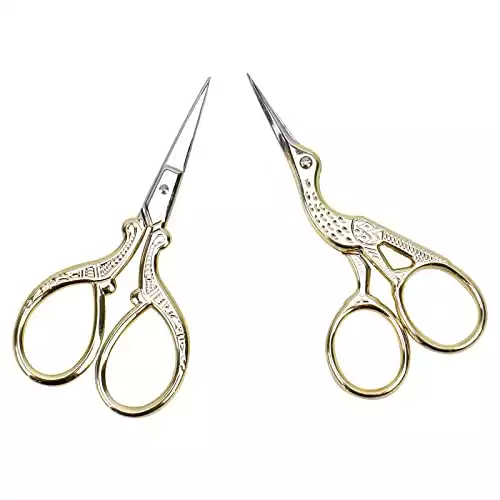
Bow scissors
Bow scissors are so-called because they have blades that curve up towards the point. This lets you make precise snips in tight spaces.
The compact version of these scissors that is ideal for embroidery is sometimes also called “baby bow” scissors.
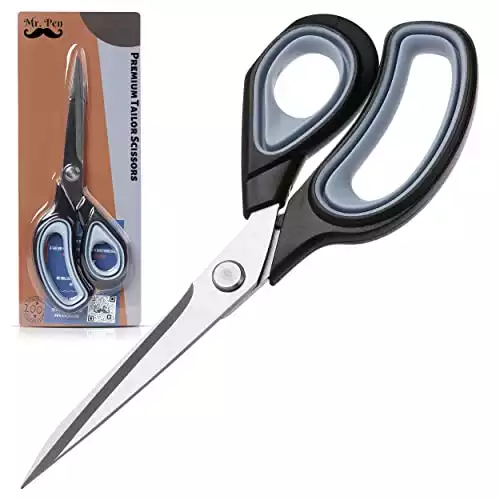
Fabric scissors
Also known as tailor’s shears, fabric scissors are sharp with a long blade, making them ideal for cutting fabric.
It is important that you only use your scissors for cutting fabric and never use them for cutting any other material, such as paper, as this will dull the blade. This may mean keeping them locked away so that no one else in the house can access them!
Floss
In embroidery, we use floss rather than sewing thread. Floss has multiple strands of thread, usually six strands, which can be divided to create embroidery with one, two, or more strands.
You can buy floss in just about every shade and tone, as well as cool effects such as metallic floss. It also comes in a few different types, so it is important to know the difference.
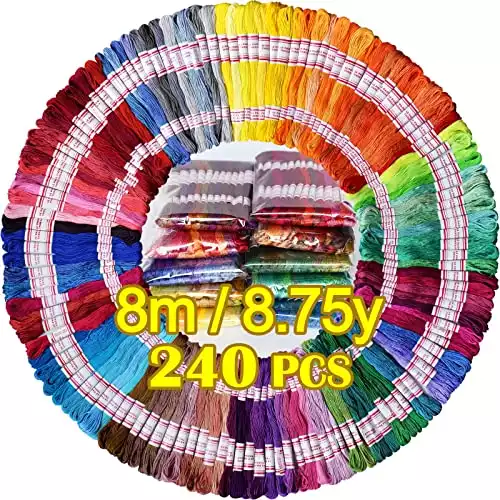
Cotton floss
Cotton Floss is the best type of floss for embroidery, as it is easy to separate and easy to work with.
There are many different brands of embroidery floss available. A good option is DMC embroidery floss, which has a wide range of colors, as well as being good quality and affordable at the same time.
Tapestry yarn
Tapestry yarn is a thick, chunky yarn that has been used to make traditional tapestry projects for centuries. This yarn is composed of four threads that are softly twisted together but cannot (or should not) be separated.
Traditionally, tapestry yarn is made from wool, but these days it can also be made from acrylic fibers.
Craft floss
This type of floss is designed for craft projects like friendship bracelets, but is not as suitable for embroidery, as the threads are harder to separate so it is difficult to work with.
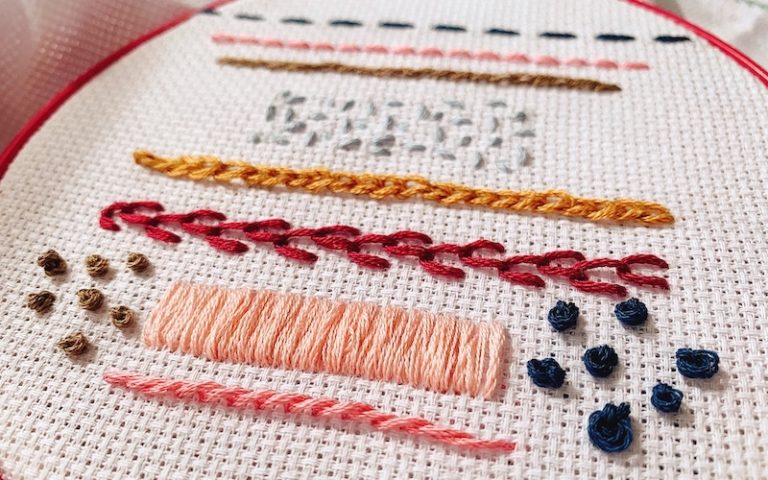
Basic embroidery stitches for beginners
Here is a step-by-step guide to the three basic stitches every embroiderer should know. If you’d like to learn even more embroidery stitches, check out this roundup of nine essential embroidery stitches.
Running stitch
Running stitch is a very simple stitch, and one of the basic essentials for sewists and embroiderers.
1. Thread your needle with single strand of embroidery thread
You will need to separate a single strand from your floss: each piece of embroidery floss usually has six strands of thread.
Separate out the strand slowly to avoid knotting the strands.
Knot the end of your thread to stop it pulling through the fabric.
2. Start from the back of your fabric.
Push your needle through the back of the fabric (at the back of your embroidery hoop) to the front. Once you have pulled the thread all the way through by pulling your needle up, sew the first stitch by pushing your needle back down through the fabric from front to back.
The distance from the start and end of the stitch will depend on how long you want your stitch length to be.
It is a good idea to draw a line on the fabric with tailor’s chalk or a fabric pen to make sure your stitches are straight.
3. Sew your next stitch in a straight line
Push the needle up from front to back, about a stitch length along the line you have drawn on your fabric.
Sew your second stitch further along that line, continuing forwards in the same direction. Make the second stitch the same length as the first, and you will now have two stitches visible on the front of your fabric, with a space in between that is a similar length to the stitches.
4. Continuing sewing in the same direction
Continue to work forwards in a straight line, repeating the same process and keeping your stitch length consistent.
Back Stitch
Back stitch is more secure than running stitch: because the stitches work back on themselves, this creates a stronger, reinforced seam.
1. Make your first stitch forwards
The first step is identical to running stitch: bring your thread from the back of the embroidery hoop to the front, and then sew a straight stitch, bringing the needle through the front of the fabric to the back of the fabric again.
2. Sew the second stitch going back
Again as with running stitch, bring your needle and thread through the fabric from front to back, one stitch length forwards in a straight line from your first stitch. Your thread will now be at the front of the fabric, about a stitch length away from your original stitch.
This time, instead of sewing your second stitch forward in a running stitch, sew it back toward your first stitch. You want to aim to push your needle through the fabric as close to the end of the first stitch as possible, through the same hole.
Pull the thread all the way through the fabric from front to back once more. You should now have two stitches in a straight line, one right after the other.
3. Continue working in a straight line
Repeat the process by bringing your needle through the fabric another stitch length along the line, and then sew another stitch backwards.
Continue stitching along the line, working the thread forwards on the back of the fabric (at the back of your embroidery hoop), and backwards on the front until you’ve created a nice line of stitches.
Depending on the project, you can either keep all the stitches the same length, or vary the stitch lengths for a different effect.
Chain stitch
Chain stitch is another common embroidery stitch. It creates an interesting visual effect with interlocking stitches, but is easy to do.
1. Make a loop
Bring your needle through the back of your embroidery hoop to the front of the fabric. Then push the needle back down through the fabric directly next to where the thread came through the first time, as close as possible but not in the same hole.
Pull the thread through, but not all the way, so you have a loop on the front of your fabric.
Tip: Gently press your thumb on the loop as you pull the thread through on the other side: this will stop you from pulling the thread too far and your loop disappearing.
2. Catch the loop in your next stitch
Bring your needle up through the fabric again, one stitch length forward along your line. As you bring the needle up from the back to the front of the fabric, make sure the needle passes through the center of your loop.
Once again, push your needle back through the fabric as close as possible to the thread, but not through the same hole. Make sure that your needle again goes through the center of your loop.
3. Make a second loop
In the same process outlined in Step 1, gently pull the thread through to the back of the fabric, pulling most but not all the way, so you once again have a small loop. Your first loop should now be sitting firmly against the top of your fabric and your new loop will be sitting inside the first.
4. Repeat the process
Bring your needle through the fabric from the back to the front another stitch length along your line, catching the new loop you’ve just made. Repeat the process as above, creating a new loop inside the last, and then catching it in your next stitch.
As you work forwards along the line, your loops will be pressed flat to the fabric by the next stitch, creating a series of interlocking stitches with a chain-like effect.
Final thoughts
Many people think of embroidery as being beyond their skill set, but it is actually easier than you might think!
If you are equipped with the essential supplies, you can get started by learning the basic stitches. As you develop your skills, the sky will be the limit!
Looking for more guidance? Check our favorite tips for hand embroidery beginners.
Please go ahead and share this article so others can discover the joy of embroidery!