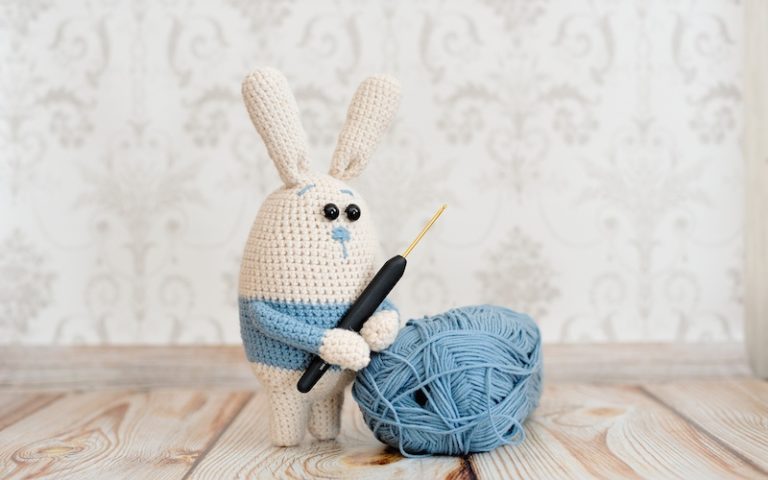

Are you looking to get into crochet but not sure where to start? In this guide for beginner crocheters, we’ll cover everything you need to know to make your own stunning crochet projects.
Tools for crochet beginners
Crochet is not only easy to learn, but you only need a few basic supplies to get started. All you really need is a crochet hook, some yarn, a pair of scissors, and you’re good to go!
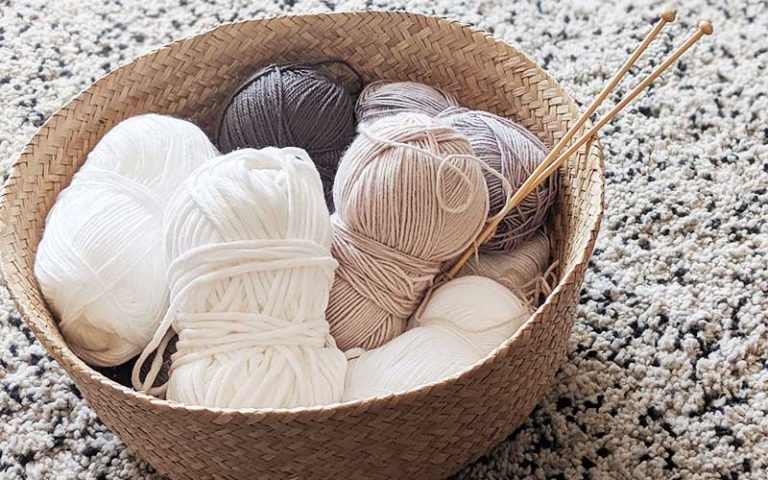
Crochet hooks
There are a few different types of crochet hooks, all of which come in a range of sizes.
It’s a good idea to try a few different crochet hooks and see which size and type you like the best. The kind of crochet hook that feels most comfortable to you will vary from person to person.
Generally speaking, ergonomic hooks or needles are a good choice, as these help to avoid strain, particularly if you suffer from arthritis or RSI. Ergonomic crochet hooks have a larger, padded handle that is more comfortable to hold than slimmer, all-metal hooks.
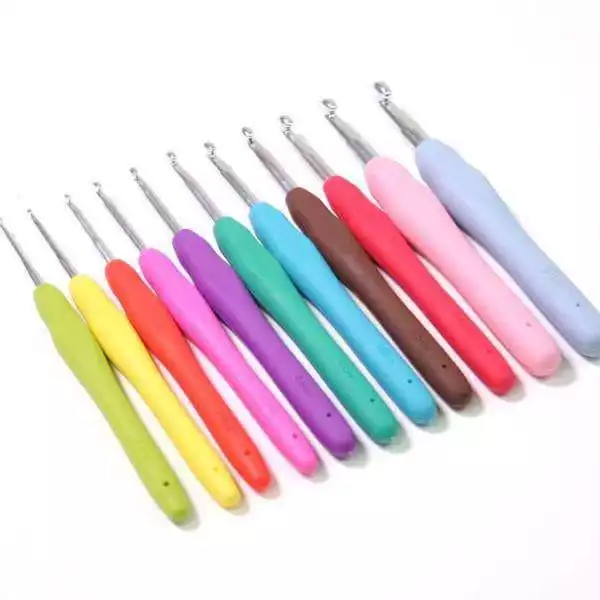
Crochet hooks can be made from a range of different materials. Aluminium hooks are typically the easiest to use because they glide easily through the yarn as you work.
Different types of crochet hooks
Crochet hooks are classified either alphabetically or numerically, with B-1 being the smallest hook and T-50 the largest.
They can also be classified according to size. For example a 4mm crochet hook is also known as a “G” or size 6 hook.
The size you choose will somewhat depend on what you’re planning to make: medium-sized hooks, size I-9 or H-8, are the most versatile and will suit most projects. If you’re just starting out with crochet, test a hook of each size and see which feels best in your hand.
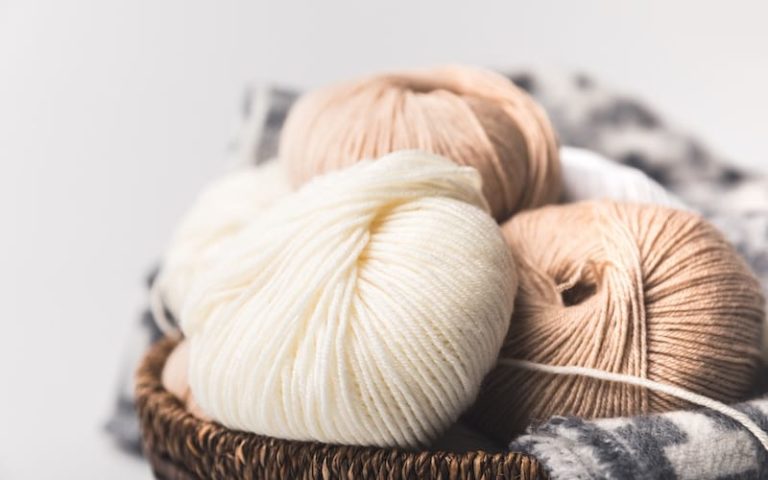
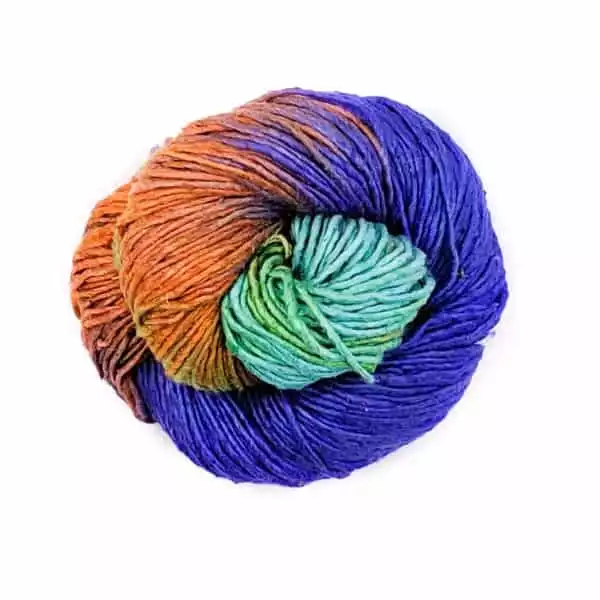
Crochet yarn
Yarn comes in different weights: from very lightweight super fine to yarn to super bulky yarn at the other end of the scale.
Like crochet hooks, the yarn weight you are best using depends on what you are planning to make. Finer weights of yarn are best for more delicate projects like baby clothes, while bulky yarn will make a chunky sweater or scarf.
You should also make sure that you choose a yarn weight and hook size that are appropriate for one another: if you are working with a fine yarn you should use a small hook.
As mentioned, the easiest size of crochet hook to work with as a beginner is a medium size I-9 or H-8 hook. For these hook sizes, the most suitable yarn size is a medium or worsted weight, so it’s a good idea to use a medium weight yarn for your first project or while practicing.
Darn Good Yarn has an amazing selection of worsted weight yarns with plenty of colors to chose from.
If you’re struggling to work with medium-weight yarn, particularly if you have poor eyesight, you could try practicing with a heavier weight, such as a bulky or super bulky yarn. You’ll probably find that the larger fibers are easier to work with.
You’ll just need to use a larger crochet hook, such as a J-10 (6mm).
Buying yarn packs in assorted colors is a good option when you’re getting started, as this will give you plenty to choose between for your first projects.
Some yarns are easier to work with than others. For example, acrylic yarn is generally a good choice for crochet as it is soft and durable.
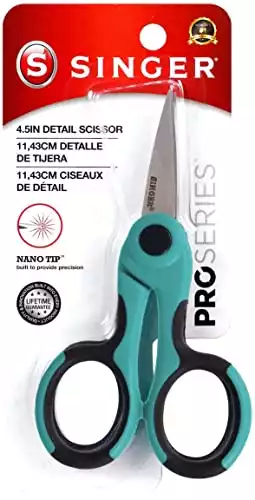
Scissors
A good, sharp pair of scissors will help you to work efficiently. You’ll need scissors to trim your yarn when finishing.
Embroidery scissors with pointed blades are best for crochet, as they are small and precise. Look for a pair with rubberized grip handles: these are more comfortable to work with.
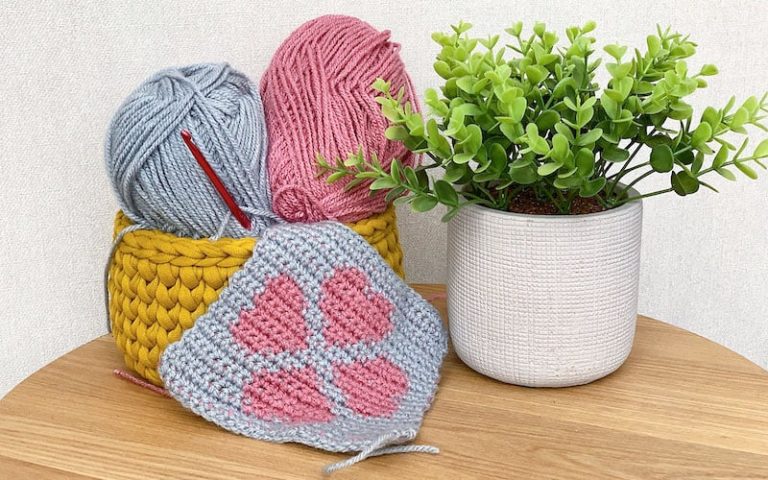
Crochet stitch dictionary
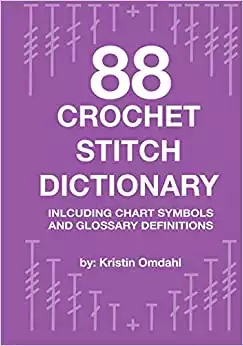
A crochet dictionary is optional, but it is very handy as it helps you understand the various abbreviations that are found in crochet charts. The crochet world is full of standard abbreviations to keep charts concise, but these can be confusing and overwhelming for first-time crocheters.
We recommend this comprehensive crochet stitch dictionary that includes full glossary definitions for 88 crochet stitches.
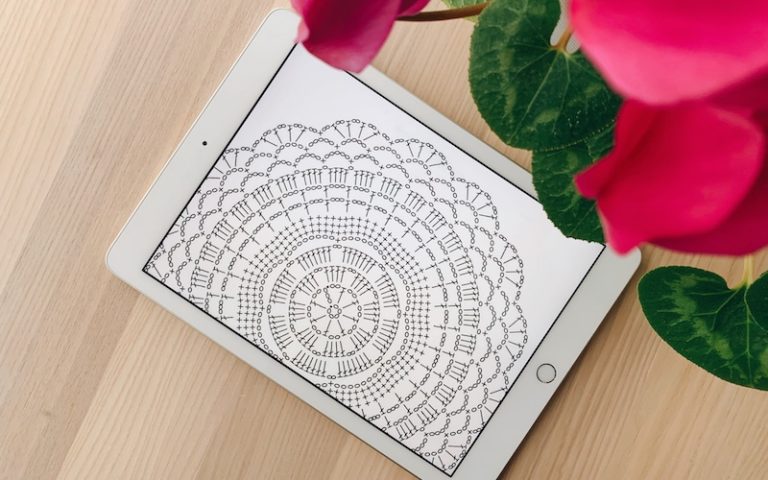
How to read crochet charts
A crochet chart tells you everything you need to know to make a particular project, similar to a knitting pattern. These charts are designed in a very particular way that can seem indecipherable to beginners, but are actually pretty easy to understand once you know how they work.
The chart will tell you which type of stitches and how many you need to crochet, usually using abbreviations to indicate different stitches. You simply work through the pattern in order, making sure that you repeat sections when necessary (this is usually shown with round brackets and asterisks).
The chart will include other useful details such as a materials list, tension information and the measurements of the completed project. There may also be a color chart, stitch diagram, or a size chart that tells you how to scale the pattern up or down in size depending on your preferences.
Some crochet charts will also have a list of abbreviations and what they mean, especially if they use special stitches or other less common terms.
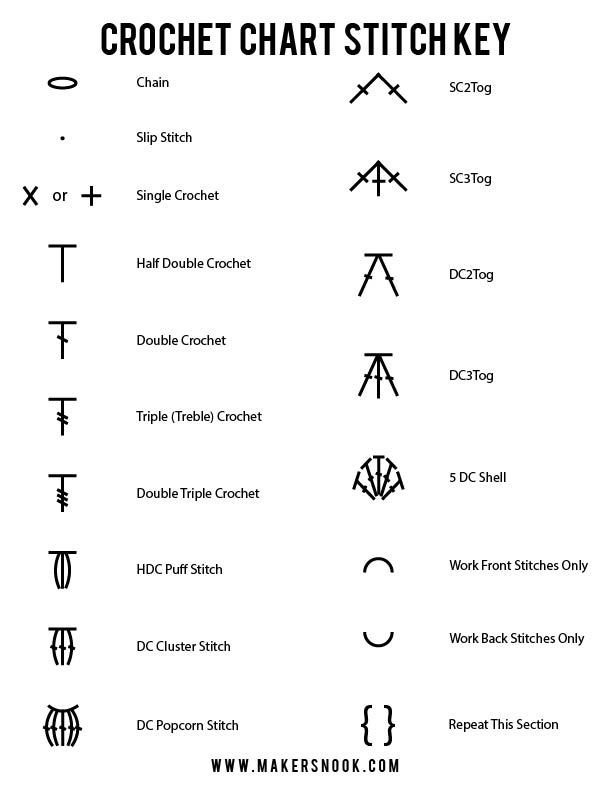
Some beginner crochet patterns are written without abbreviations to make them easier to understand, but generally they are written entirely in code.
Always make sure you read the notes section before diving into the pattern, as this may contain important information about making the pattern. To learn more about how to read these charts, take a look at our in-depth guide.
How to hold a crochet hook
It is important to hold your crochet hook properly, as this will help you to achieve the right tension in your stitches. Holding your hook the right way will also make it more comfortable to work and avoid hand strain.
You should hold a crochet hook like you’d hold a pencil. Your thumb and index finger should gently squeeze the indentation, called the finger hold, in the middle of the hook.
Some people also like to rest their middle finger near the top of the hook as this is more comfortable and gives you more control.
If holding it correctly, the hook should be turned toward you on an angle, rather than facing up or down.
Of course, everyone is different, so the same methods do not always work for everyone. An alternative way of holding your crochet hook is more akin to how you would hold a knife.
This means your fingers will be wrapped over the top of your hook and you will use your wrist to guide it, rather than your fingertips as with the pencil hold.
Try both of these out and see what works best for you!
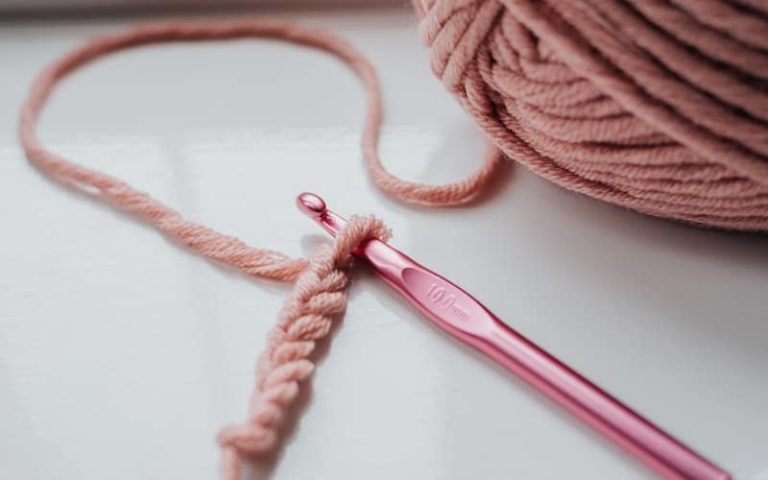
How to tie a slip knot for crochet
You need to tie a slip knot before you can start to crochet as this casts the yarn on to the hook, rather like casting on in knitting. This is an essential skill for any crocheter as you cannot start any crochet project without a slip knot!
There are a few different ways to tie a slip knot, and you may find that some methods work better for you than others. Here are three alternatives for you to try.
Method 1: Pretzel method
Take the tail of your yarn and make a loop by bringing it over the working end of the yarn. Next, take the tail and bring it under and towards the back of the loop so it makes a pretzel shape.
Then take your crochet hook and insert it through the first loop of the pretzel, pulling it slowly until a loose knot forms with one loop on your hook.
You can pull on the tail end of the yarn to tighten the slip knot, and on the working end to loosen it.
Method 2: X method
In this approach, you use your fingers rather than your hook to form the slip knot. Take the end of your yarn and wrap it around your index and middle fingers.
Wrap the yarn across itself so that it forms the letter X on top of your fingers. Then take the middle of the yarn and push it through the first loop, while keeping hold of the tail so that you don’t lose your slip knot.
Gently pull on both ends of the yarn to create a loose tension and then insert your hook through the loop and you’re ready to start working!
Method 3: Flip method
Take the tail end of your yarn and make a loop by placing it over the working end, in the same way as the pretzel method. Then flip the loop over the attached strand of yarn and use your hook to pull the attached strand through the loop, creating a slip knot.
It is important to have the right tension in the loop: you don’t want it to be too loose or too tight, but rather a snug yet workable tension
Tying the perfect slip knot can take a bit of practice, but keep trying and you’re sure to master this in no time!
Beginner crochet stitches to get you started
Don’t be intimidated by the large range of different crochet stitches. To start, you only need to learn one or two basic stitches.
From there, you can build up to more advanced stitches as your skills develop. Here are three basic stitches to get you started: chain stitch, single stitch, and double stitch.
Chain stitch
The chain stitch is a fundamental crochet stitch, as it is used to set the starting width of crochet projects. This is sometimes referred to as the foundation chain.
This stitch can also be used to set the height of your crochet stitches, which is called turning chains. It is called a chain stitch because if you turn it over it looks like a chain link.
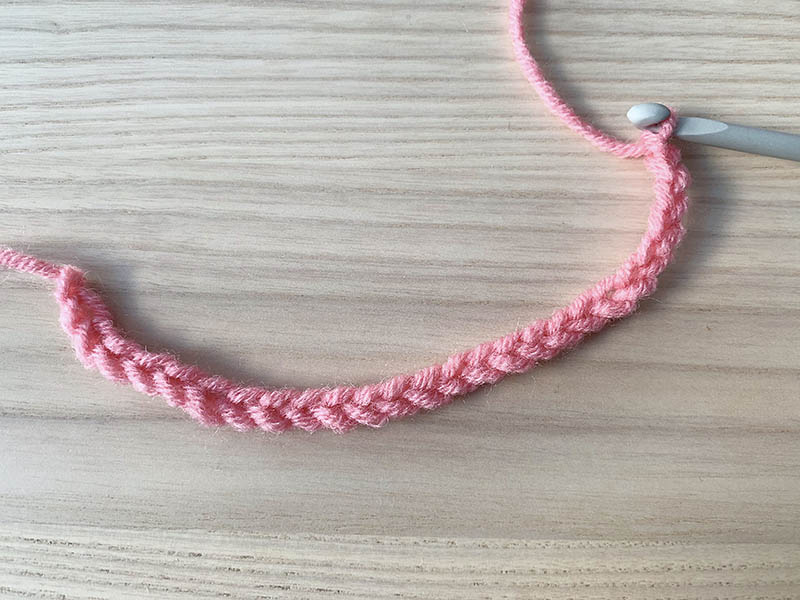
To make a chain stitch, start by wrapping your yarn around the hook. This is also called yarn over, or YO.
Then, you simply pull the loop you’ve just made through your original loop you made with your slip knot, which will already be on the hook.
Repeat this process, wrapping the yarn around your hook and pulling it through the previous loop, until you have the desired number of stitches. Note that the loop on your hook does not count as a chain.
To fasten off, pull the loop part way down your hook and cut the yarn so that you have a tail of an inch or two. Then wrap the yarn tail around the hook and pull through to fasten.
When you’re first starting out with crochet, you can get plenty of practice by making long chains.
Single stitch
A single crochet stitch, sometimes simply called a “single crochet” and abbreviated to “sc”, is the most basic crochet stitch. In the UK, single crochet stitch is called double crochet – which can be rather confusing!
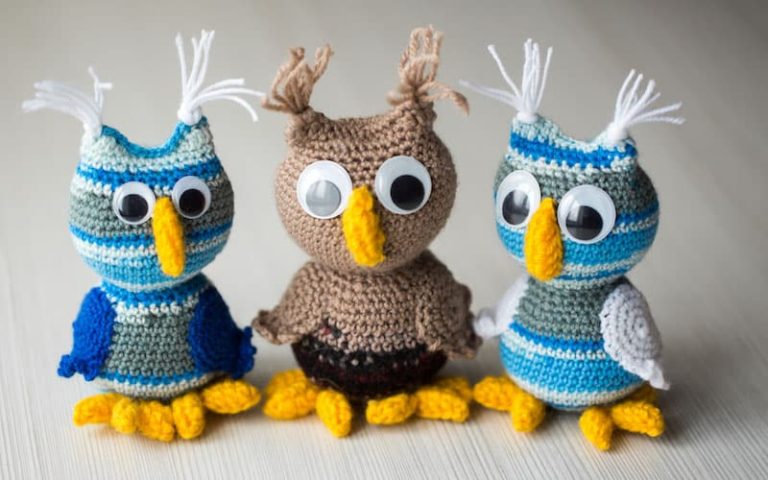
This stitch creates a solid, dense structure that is perfect for soft toys and Amigurumi. It is also one of the easiest crochet stitches to do, so it is a great one for beginners.
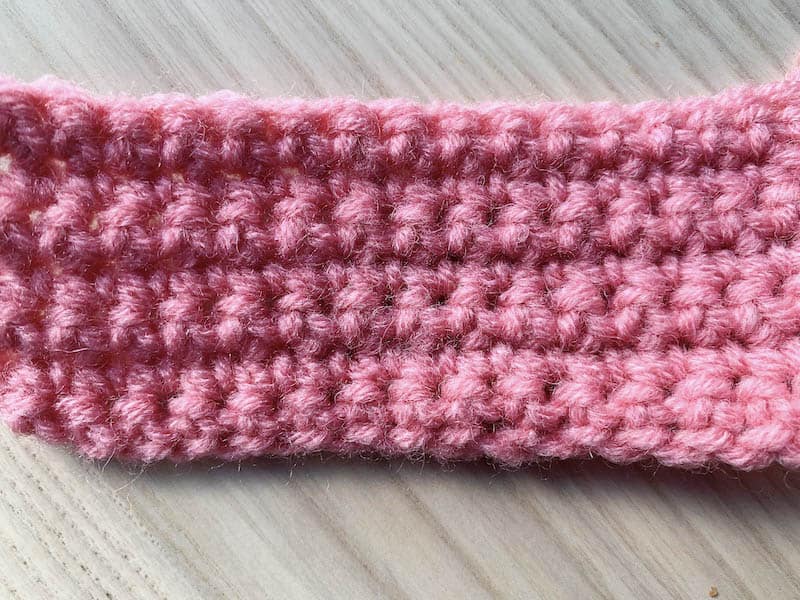
Before you can start crocheting a single stitch, you’ll need to first have a chain to work from, so make a chain of your desired length as described above.
You’ll need to know which strain in your chain to work with, as each chain has three strands of yarn. The first strand sits on top of the chain and this is usually the strand you use when starting your work, depending on your pattern.
There is also a second strand in the middle, which some patterns work with, and a third strand at the bottom of the chain.
- To make your first stitch from a foundation chain, look for the “V” shape in the chain: this is where you should insert your hook. Be sure to place your first single crochet in the second chain from the hook, rather than the chain on the hook.
- Next, wrap the yarn around your hook from underneath (yarn over) and use your hook to pull it through the strand. You’ll now have two loops on your hook.
- Yarn over again, and this time pull the yarn through both loops – this is one single crochet.
- To do another single crochet, insert the hook into the second chain from your first single crochet, and repeat the stitch as above. Keep working in this way until you have single crocheted along the entire chain.
Double stitch
The double crochet (dc) stitch is similar to the single stitch, with one extra step. This stitch is twice as long as the single crochet and produces a softer texture that has a nice drape and is well-suited to making clothing and accessories.
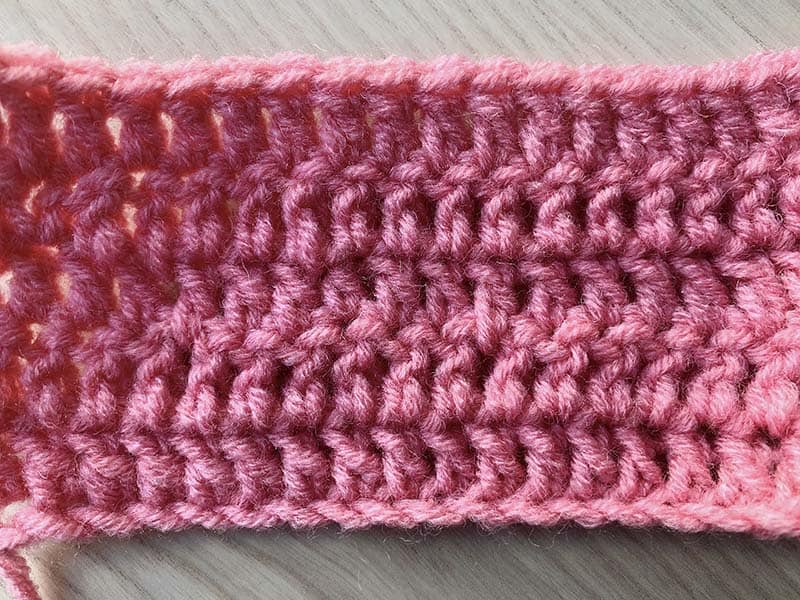
- Like a single crochet, you will first need to make a chain before you can work a double crochet. This time, you will insert your hook in the fourth chain for your hook.
- Wrap the yarn around your hook in a yarn over, from back to front. Then, place your hook into the fourth chain and yarn over again and pull the hook through the chain.
- You will now have three loops on your hook. Yarn over once again and pull the yarn through the first two loops on your hook, leaving you with two loops.
- To finish the double crochet, yarn over a final time and pull the yarn through the remaining two loops on your hook.
Repeat this stitch for each double crochet, always inserting your hook through the fourth chain from your hook.
Final tips for beginner crocheters
We’ve pulled together a few handy tips to help you master the art of crochet.
Educate yourself
Luckily, there are a range of resources you can use to learn crochet these days. You’ll find plenty of videos on YouTube to teach you how to crochet, as well as online courses on platforms like Craftsy.
There are also some fantastic crochet books around, from basic stitches and techniques to fun projects.
When you’re starting, it’s a good idea to practice by making granny squares. This is the building block for larger projects and you can sew these squares together to make blankets, tablecloths, or pillow cases.
Look out for free crochet patterns
For your first projects, choose a simple pattern such as a baby blanket or a scarf. Look for patterns or tutorials that are labeled as beginner-friendly.
This washcloth set is a great place to start: follow the link for the free pattern and tutorial. Or check out our selection of 11 free tapestry crochet patterns for all levels.
Control the tension
Tension-control is one of the most important elements of crocheting: if your yarn tension is too loose, it will look messy and may even have loops of yarn. On the other hand, if the tension is too tight, this makes it very difficult to work, and may pull or warp the fabric.
One handy tip for maintaining consistent tension while you work is to wrap the yarn around your fingers. This will also give you more control as you work.
Don’t be too hard on yourself if things don’t turn out perfectly on your first project. You can always start the whole pattern again from the beginning – it’ll be good practice!
How to fix mistakes
If you make a mistake while crocheting, don’t panic! It’s easy to fix errors in crochet: all you have to do is remove your hook and then gently pull the yarn to undo the incorrect stitches, then start the row again.
Wrapping up
Crochet is a fantastic craft that is easy to learn and lets you make a range of beautiful projects from accessories to toys. This craft may seem intimidating at first, with its own techniques and terminology.
However, once you master the basics, you’ll find that crochet is easy to do and loads of fun.
Go ahead and share this article with your friends and fellow budding crocheters!