A blind hem stitch is a very handy technique that allows you to sew a hem that is almost entirely invisible from the garment’s front/right side. This is perfect for hemming dresses, pants, sleeves and other garments made from fabrics like cotton, canvas, and twill.
Although many modern sewing machines are equipped with a blind stitch function, not all machines are able to do this. If your machine does not have a blind hem stitch, you’ll need to do this by hand.
Furthermore, every sewist needs to learn how to sew by hand, and a blind stitch is an essential technique that everyone should know.
Luckily, it is relatively easy to sew a blind stitch by hand – we’ll show you how in this article!
What tools do you need to sew a blind hem stitch by hand?
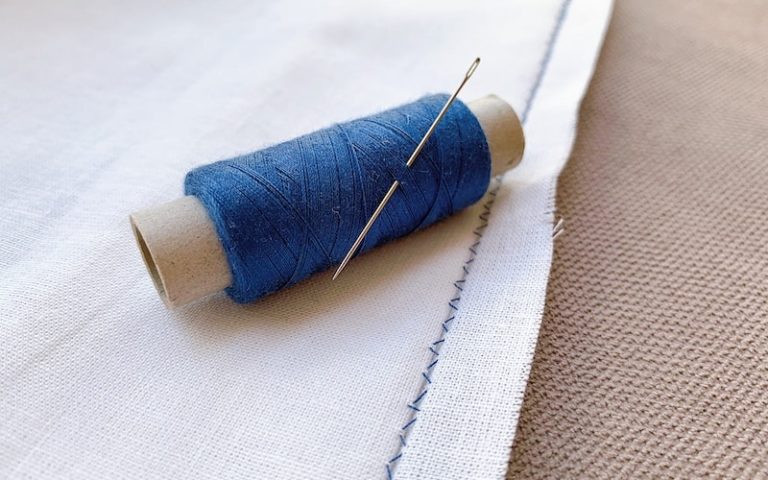
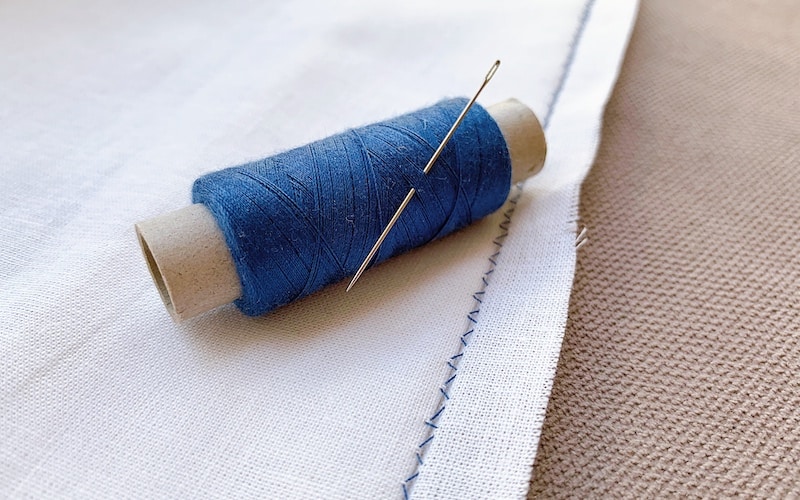
To sew a blind stitch without a sewing machine, all you’ll need is:
- A garment that needs hemming such as pants or a skirt (or scrap fabric to practice)
- An iron
- Fabric pen or tailor’s chalk
- Ruler
- Sewing pins
- A hand sewing needle
- Thread (this should match the color of your garment as closely as possible)
How to sew a blind hem stitch by hand: a step by step guide
We’ve broken down how to sew a blind stitch by hand into a step-by-step guide. This technique is a breeze once you’ve got the hang of it, but it does take a little practice!
When learning any new sewing technique, it is always a good idea to practice first. Before attempting to sew a blind stitch by hand on your final garment, test it out first with a piece of scrap fabric.
Step 1: Measure the hem allowance
Whether sewing a by hand or on a sewing machine, the trick to pulling off a near-invisible blind hem lies in how you fold your hem allowance. Folding it in a very particular way allows you to sew in such a way that the stitches are barely visible from the right side of the fabric.
Note that for a blind stitch you will need to allow a seam allowance of at least a quarter of an inch more than your seam. That is, if you want a two-inch seam, you will need a seam allowance of two and a quarter or two and a half inches and so your hemline should be this distance from the raw edge of your fabric.
With that in mind, measure the hem of your skirt, plant leg, sleeve or whatever garment you are making.
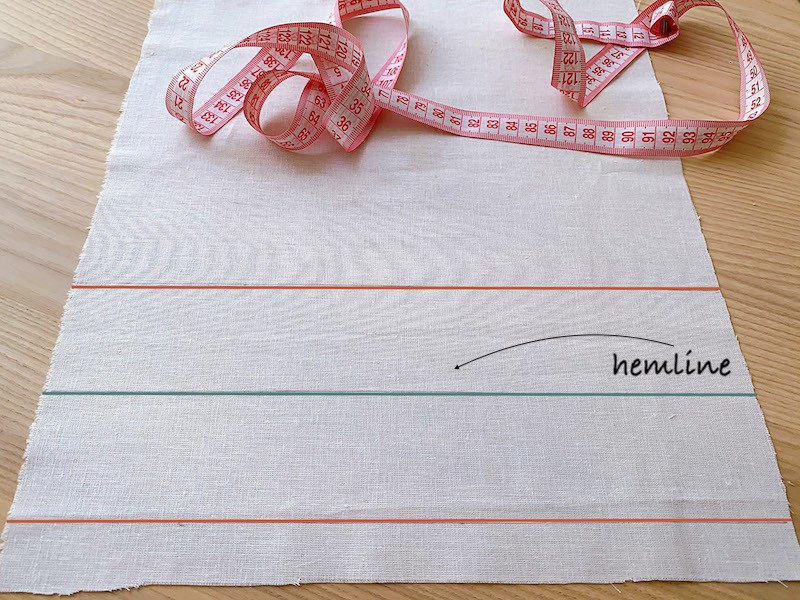
Mark your hemline with tailor’s chalk or a fabric pen on the wrong side of the fabric (the back of your garment) using a ruler to mark a straight line across the entire hem.
Then mark two more lines either side of your hemline: for a two-inch seam, you will have one line two inches above the hemline, and the other two inches below the hemline.
If you have a quarter-inch seam allowance, the bottom line should be a quarter-inch from the raw edge of the fabric.
Step 2: Fold the hem
Pinch along the hemline (the middle line that you marked) and so that the top line and the bottom line match up to one another.
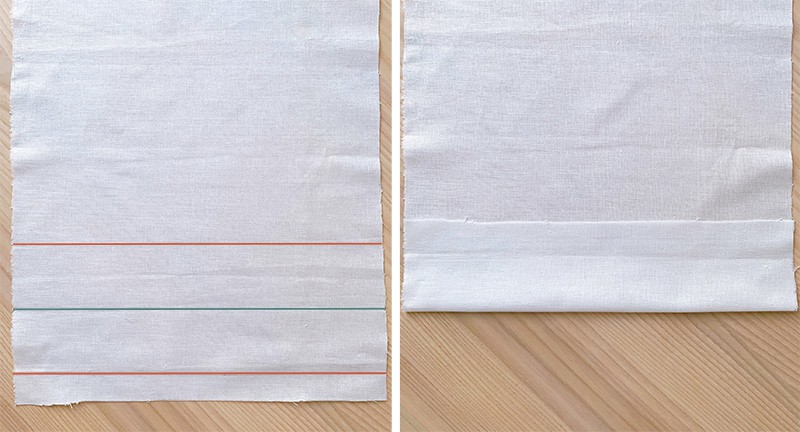
Continue to fold along the entire hem so that you have a fold of fabric sitting on top of the seam allowance.
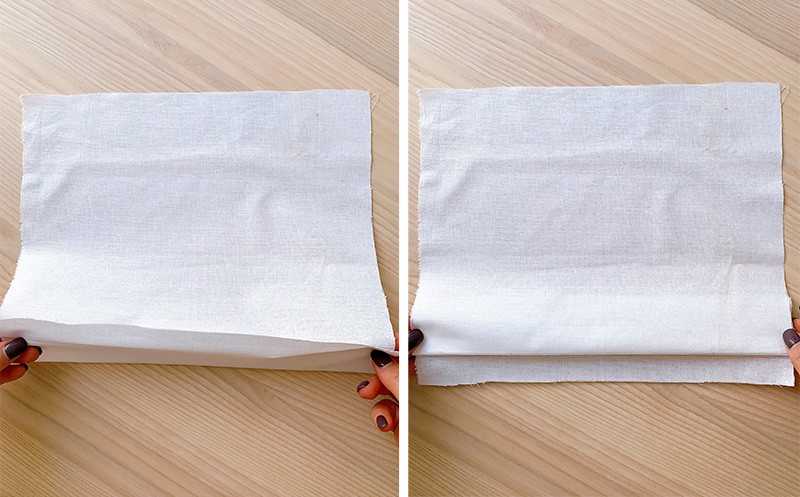
With the wrong side of the fabric, you will just be able to see the top and bottom lines that you marked with the tailor’s chalk, but the hemline will be hidden inside the fold.
You can lightly iron your folds to hold them in place or secure with sewing pins.
Step 3: Sew an anchor stitch
Thread a hand sewing needle with thread, knotting the end of one piece of thread only. You will be sewing with a single rather than a double thread to keep your stitches as discreet as possible.
Make sure to choose a color of thread that matches your fabric as close as possible. This is extremely important with blind hems: by using a thread that matches the fabric color the tiny stitches will blend into the garment and look invisible.
On the other hand, it is better to use a contrasting color of thread when practicing your technique on a piece of scrap fabric. That way, you’ll be able to see your work clearly and check the size and appearance of your stitches.
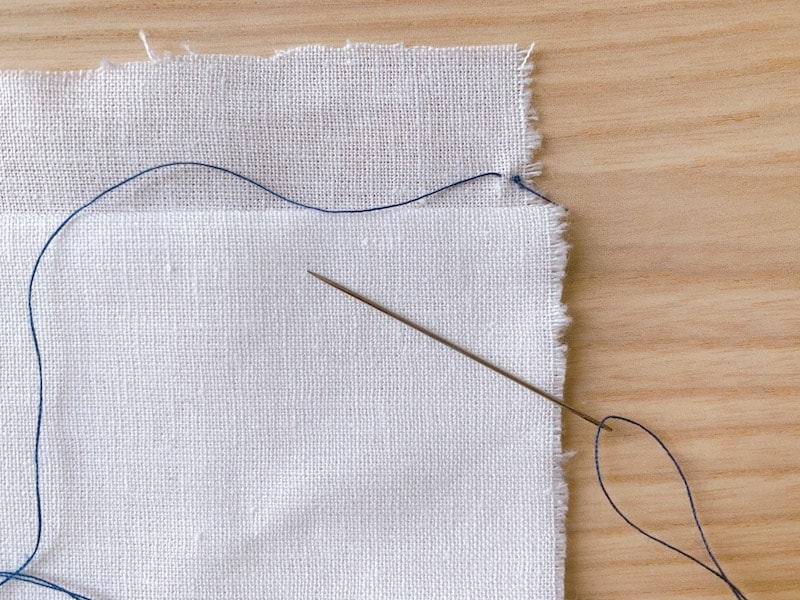
Holding your project with the wrong side of the fabric facing you, start by sewing one vertical stitch inside the hem allowance, running perpendicular to the hem, about an eighth of an inch from the start of the hem.
This will anchor your seam in place, keeping it secure and helping to maintain even tension in your stitches.
Step 4: Sew a stitch inside the seam allowance
Then sew your first stitch inside the seam allowance, the section of fabric that is below the bottom line you drew with tailor’s chalk. This will be hidden on the inside of your hem on your finished garment.
Sew one stitch starting in the hem allowance and also finishing in the hem allowance, sewing along the edge of the hem and just above the fold of fabric that corresponds to the top and bottom lines of tailor’s chalk.
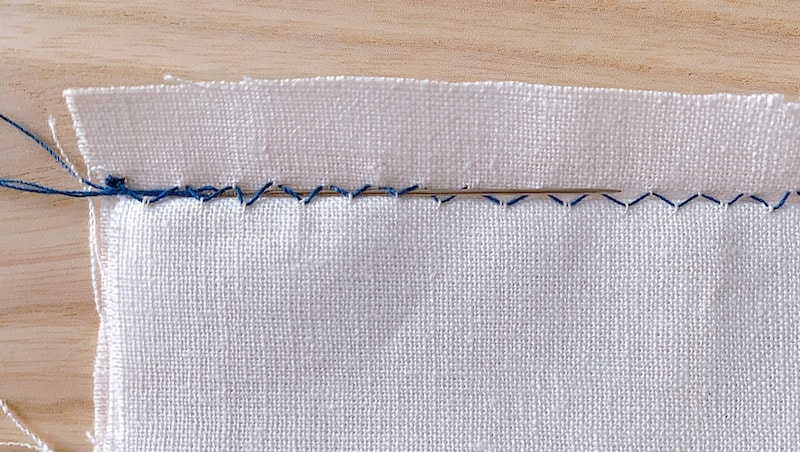
Step 5: Sew the blind stitch
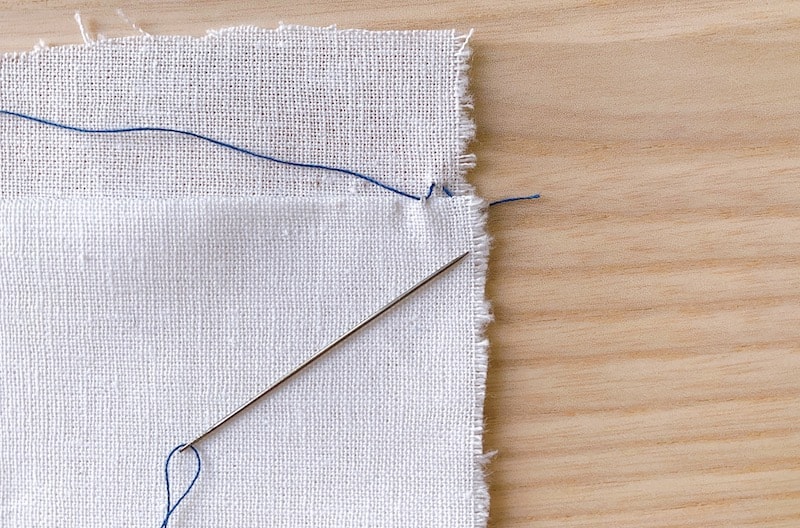
Next you want to sew through the fabric marked by the top line, exactly where it is folded.
From your stitch inside the hem allowance, move forward about a quarter of an inch and sew through the fold of the fabric.
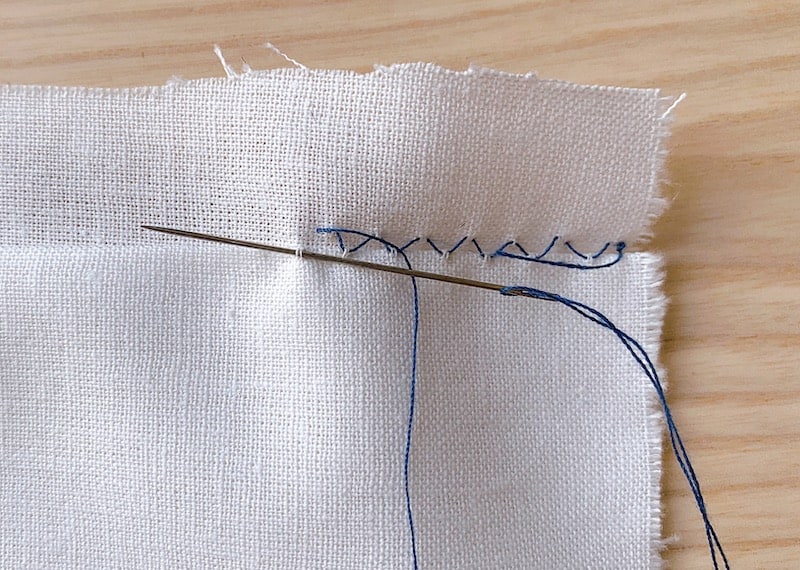
However, you want to avoid sewing a full stitch that will be clearly visible on the right side of the fabric. Instead, you are aiming to just barely sew through the fabric by passing your needle through two or three of the fabric threads only.
This will create the tiniest of stitches that is barely visible on the other side. If you have chosen a thread that matches your fabric perfectly, it will look like a pin prick or may not be visible at all.
Step 6: Repeat these stitches
After you have passed your needle and thread through a few threads in the fabric on the fold, continue another quarter of an inch or so along the seam, sewing another stitch into the seam allowance. Again, both the start and the end of the stitch will be inside the hem allowance, running just above the fold.
Then, once again move forward around a quarter of an inch and grab a couple of stitches out of the fold of your fabric. Repeat this process, making one stitch in the seam allowance, then a blind stitch in the fold of the fabric, and so on.
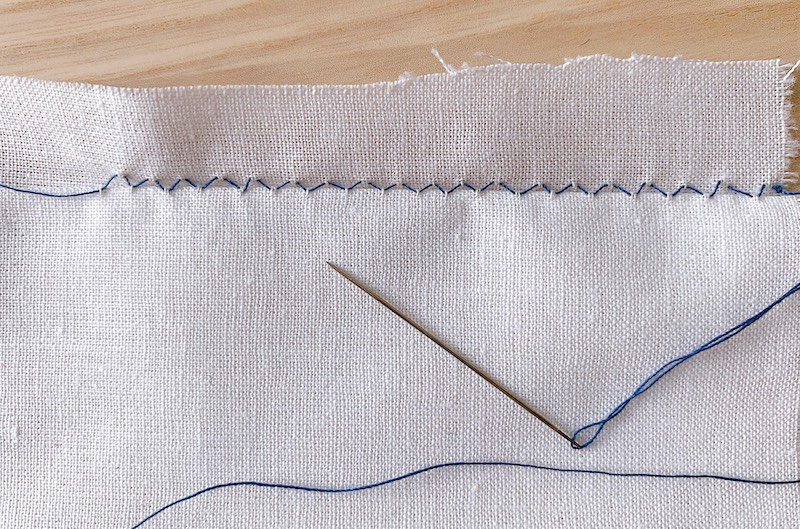
As you work, keep the tension firm but be careful not to pull the threads too tight. This could cause the fabric to bunch and may pull on the threads you have caught with the blind stitches.
Step 7: Finish the blind hem
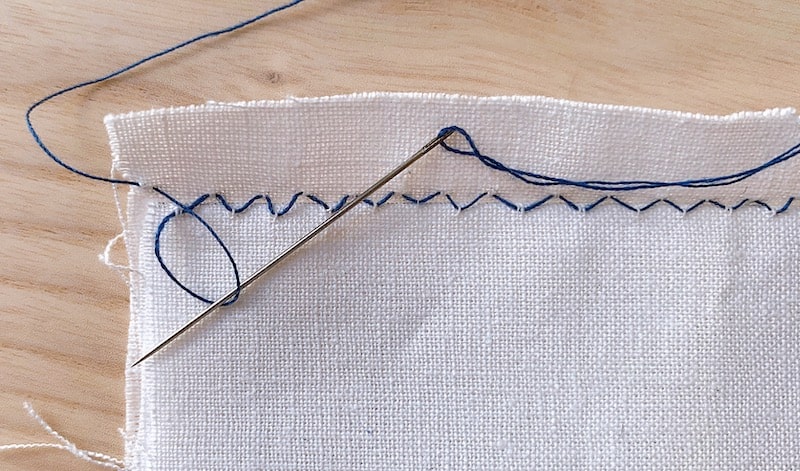
Once you have reached the end of your hem, make sure that you sew a final stitch in the seam allowance, to anchor the seam at this end.
Then, finish your stitch by creating a loop with thread, and putting your needle through the loop. Do this twice and then pull the thread tight to create a secure knot. Do not cut the thread tails yet.
For more on this, check out our dedicated tutorial on how to finish a stitch.
Step 8: Flatten the hem
Remove all the pins from your project if you didn’t already do this while you were working.
Then turn the hem the right way up by unfolding your hem. The stitches will now be hidden inside the hem, except for alternate stitches on the hem allowance that you’ll be able to see on the wrong side of the garment.
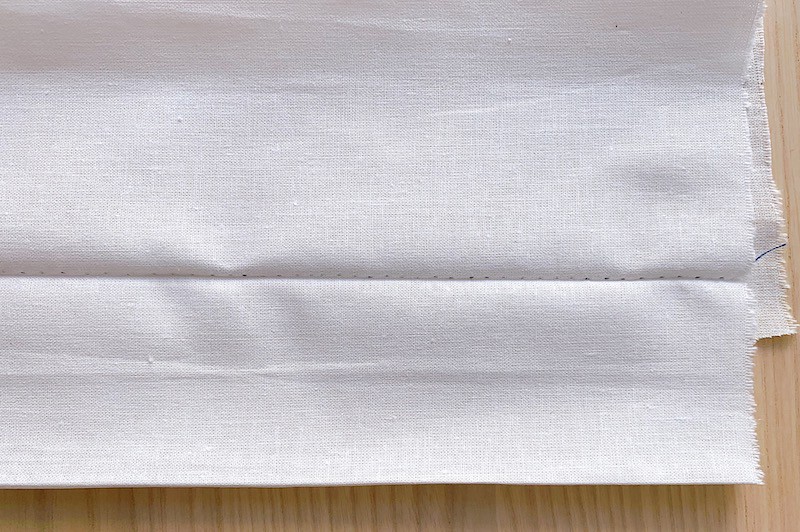
On the right side of the garment, you should only see the tiny blind stitches, which will look like pin pricks. If you’ve used the right thread, these will be barely visible, if at all.
Take your thread (which will still be attached to the needle) and slide the needle underneath the hem on the wrong side of the garment, passing the needle up through the hem again. Cut the thread close to the fabric and the tail will slip inside the hem, neatly hiding your thread tails.
Press your hem with an iron to remove any kinks, and you’re done!
Summing up
There are many reasons why you may need to sew a blind stitch, whether making pants, a dress, a skirt or finishing sleeves. If you don’t have a sewing machine with a blind hem function and presser foot, or simply want to practice your hand sewing skills, you’ll need to pick up a hand sewing needle!
By following these easy steps, you’ll be able to produce a barely-visible blind hem with just the most basic of sewing supplies.
Do you know other keen sewists who’d benefit from this tutorial? Share this article so they can learn how to sew an easy blind stitch by hand!